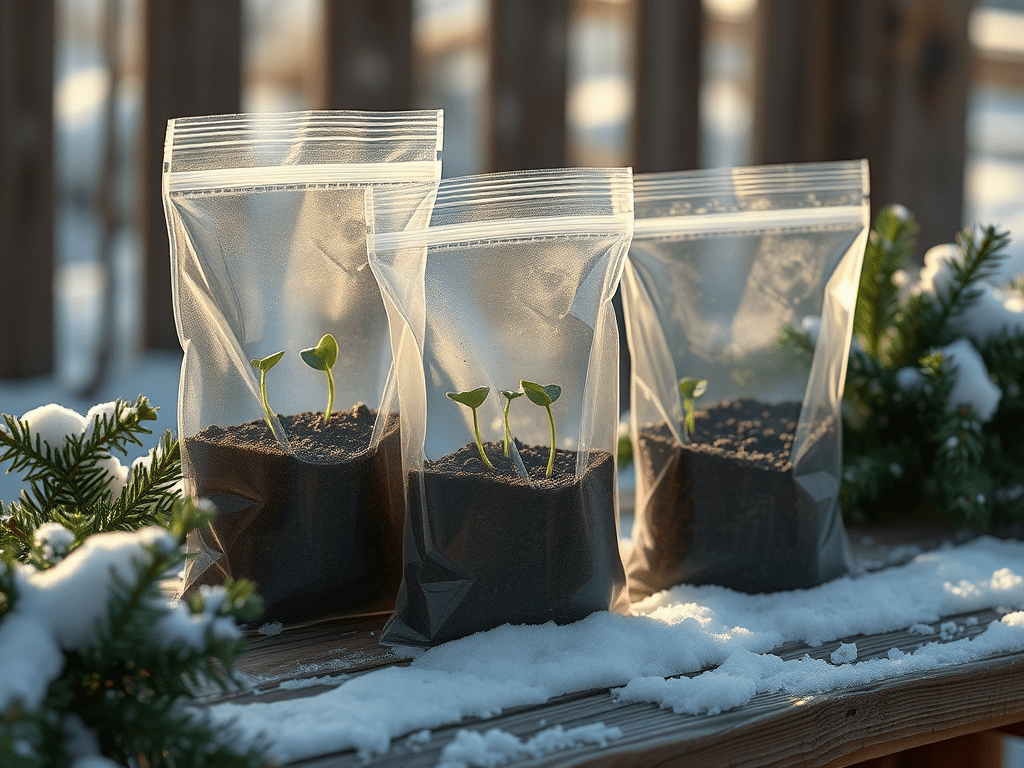
f you’re itching to garden in January but your beds are frozen solid, winter sowing is your new best friend. Using clear ziplock bags, you can start hardy flower seeds outdoors—even in the cold—without grow lights, heat mats, or complicated setups.
This method mimics nature: seeds experience cold, moisture, and light, then sprout when the timing is just right. It works beautifully in planting zones 6, 7, and 8, making it perfect for late winter gardeners who want a head start.
Why Try Winter Sowing?
- No indoor grow lights needed
- Stronger, cold-hardy seedlings
- Less damping-off and leggy growth
- Perfect for gardeners short on space
- A fun, low-cost winter garden project
Supplies You’ll Need
Nothing fancy—chances are you already have most of this at home:
- Clear ziplock bags (quart or gallon size)
- Seed-starting mix or light potting soil
- Flower seeds (see January-friendly list below)
- Permanent marker (for labeling)
- Spray bottle with water
- A tray, bin, or shallow box for holding bags upright
- Optional: scissors or a pin for drainage holes
Flowers to Start in January (Zones 6–8)
These flowers love cold exposure and are perfect for winter sowing:
Great Cold-Hardy Choices
- Sweet peas
- Poppies
- Larkspur
- Bachelor’s buttons
- Calendula
- Nigella (Love-in-a-Mist)
- Alyssum
- Violas & pansies
Perennials That Benefit from Cold Stratification
- Echinacea (coneflower)
- Black-eyed Susan
- Yarrow
- Milkweed
- Lupine
- Columbine
If a seed packet says “sow early” or “needs cold stratification,” it’s a green light for winter sowing.
Step-by-Step: How to Winter Sow in Ziplock Bags
1. Prep the Soil
Add 1–2 inches of damp (not soggy) potting soil mix to the bottom of your zip lock bag. Think wrung-out sponge, not mud pie.
2. Sow the Seeds
Sprinkle seeds on top of the soil and gently press them in. Tiny seeds stay on the surface; larger seeds can be lightly covered.
3. Label Everything
Write the plant name and date directly on the bag. Future you will be very grateful.
4. Add Air & Drainage
Snip a tiny corner off the bottom or poke a small hole for drainage. Leave the bag slightly open at the top to allow airflow and prevent mold.
5. Set Them Outside
Place the bags upright in a tray or bin and set them outdoors in a protected spot—against a fence, on a porch, or near a shed. They need exposure to winter temperatures and natural light, but not harsh wind.
6. Let Nature Do Its Thing
Snow? Perfect. Rain? Even better. Check occasionally to be sure the soil stays lightly moist.
What Happens Next?
As winter fades into early spring, you’ll notice condensation inside the bags, followed by tiny green sprouts 🌱
Once seedlings have several true leaves and outdoor temperatures stabilize, you can transplant them directly into the garden or into pots.
No hardening off required—these seedlings are already tough.
A Few Helpful Tips
- Avoid direct, scorching sun once spring hits (bags can overheat)
- If mold appears, open the bag wider for airflow
- Start checking daily once temperatures warm
- Don’t rush transplanting—slow and steady wins here
Final Thoughts
Winter sowing with ziplock bags is equal parts practical and joyful. It lets you garden through winter, saves money, and produces hardy plants that thrive once planted out.
If January feels too quiet in the garden, this is your sign to grab some seeds, step outside, and start growing—snowflakes and all 🌸❄️

thank you for this method. I’m in zone 7 and am eager to try it. now if the squirrels will stay out of them….
LikeLike