If you’ve ever brought home a fresh herb plant from the grocery store—basil, rosemary, mint, cilantro—and watched it slowly wilt on your windowsill, you’re not alone. The good news? Those little pots are meant to be replanted, and with a few simple steps, you can turn them into long-lasting, productive herb plants.
Let’s walk through how to replant grocery store herbs and actually use them successfully in your kitchen and garden.
Why Grocery Store Herbs Struggle
Most grocery store herbs are grown fast and crowded. What looks like one plant is often many seedlings packed tightly together, all competing for water, nutrients, and space. They’re also grown in lightweight soil that dries out quickly.
Replanting gives your herbs room to breathe—and that’s the key to keeping them alive.
What You’ll Need
- Your grocery store herb plant
- A pot with drainage holes (or a garden spot outdoors)
- Fresh potting soil (not garden dirt)
- Scissors or garden snips
- Water
Step 1: Gently Remove the Herb from Its Pot
Turn the pot upside down and gently squeeze the sides. Slide the plant out, supporting it at the base. Don’t worry if some soil falls away—that’s normal.
Take a look at the roots. You’ll likely see a tight root ball or several plants tangled together.
Step 2: Separate the Plants (Optional but Recommended)
For herbs like basil, cilantro, parsley, and dill, gently tease the roots apart with your fingers. You can usually divide one pot into 2–4 smaller plants.
Woody herbs like rosemary, thyme, and sage don’t always need dividing, but loosening the roots slightly still helps.
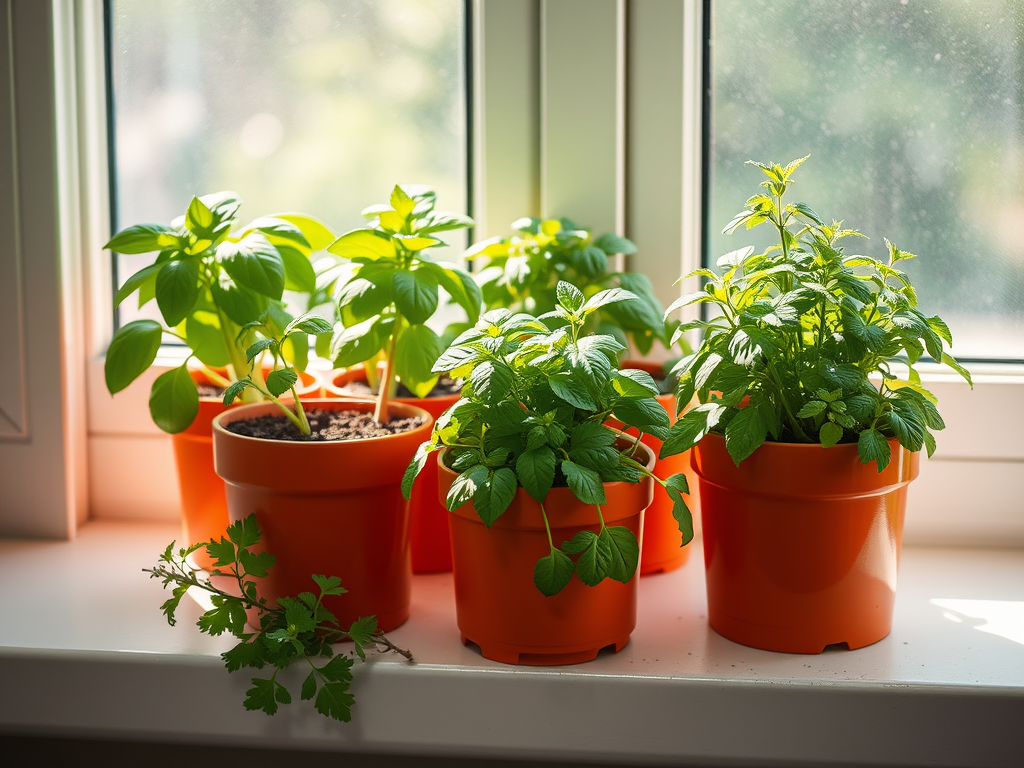
Step 3: Repot with Fresh Soil
Fill your new pot with fresh potting soil and make a small hole in the center. Place the herb inside, covering the roots completely but keeping the stems above the soil line.
Gently press the soil down (no packing!) and water thoroughly until water drains from the bottom.
Step 4: Choose the Right Spot
Most herbs love:
- Bright light – a sunny windowsill or porch
- 6+ hours of sunlight if outdoors
- Good airflow (especially indoors)
Avoid placing herbs right next to cold windows or heating vents.
Step 5: Water the Right Way
Herbs prefer even moisture, not soggy soil.
- Stick your finger into the soil
- If the top inch feels dry, it’s time to water
- Always empty saucers so roots don’t sit in water
Overwatering is the #1 herb killer.
How to Harvest Without Hurting the Plant
Harvesting actually helps herbs grow bushier—when done correctly.
- Snip stems above a leaf set
- Never remove more than ⅓ of the plant at a time
- For basil, pinch the top growth to prevent flowering
Regular, gentle harvesting keeps your plant productive.
Best Herbs to Start With
If you’re new to herbs, these are forgiving and rewarding:
- Basil
- Mint (best in its own pot!)
- Rosemary
- Thyme
- Chives
Final Tip: Think of Grocery Store Herbs as Starters
Those herbs aren’t meant to stay in their tiny pots forever. Think of them as starter plants—a jumping-off point for a beautiful, useful herb garden right in your kitchen or backyard.
With a little care and a quick replant, you’ll have fresh herbs ready whenever you cook—and that’s a win for any gardener. 🌱

One additional tip when teasing a root ball apart. If the roots are tightly packed and it looks like you might break a lot of stems, dip the rootball in water or hold it under lightly running water. The water will remove the dirt like magic and leave the roots shiny clean. (Get them potted asap so they don’t get a chance to dry out)
LikeLiked by 1 person