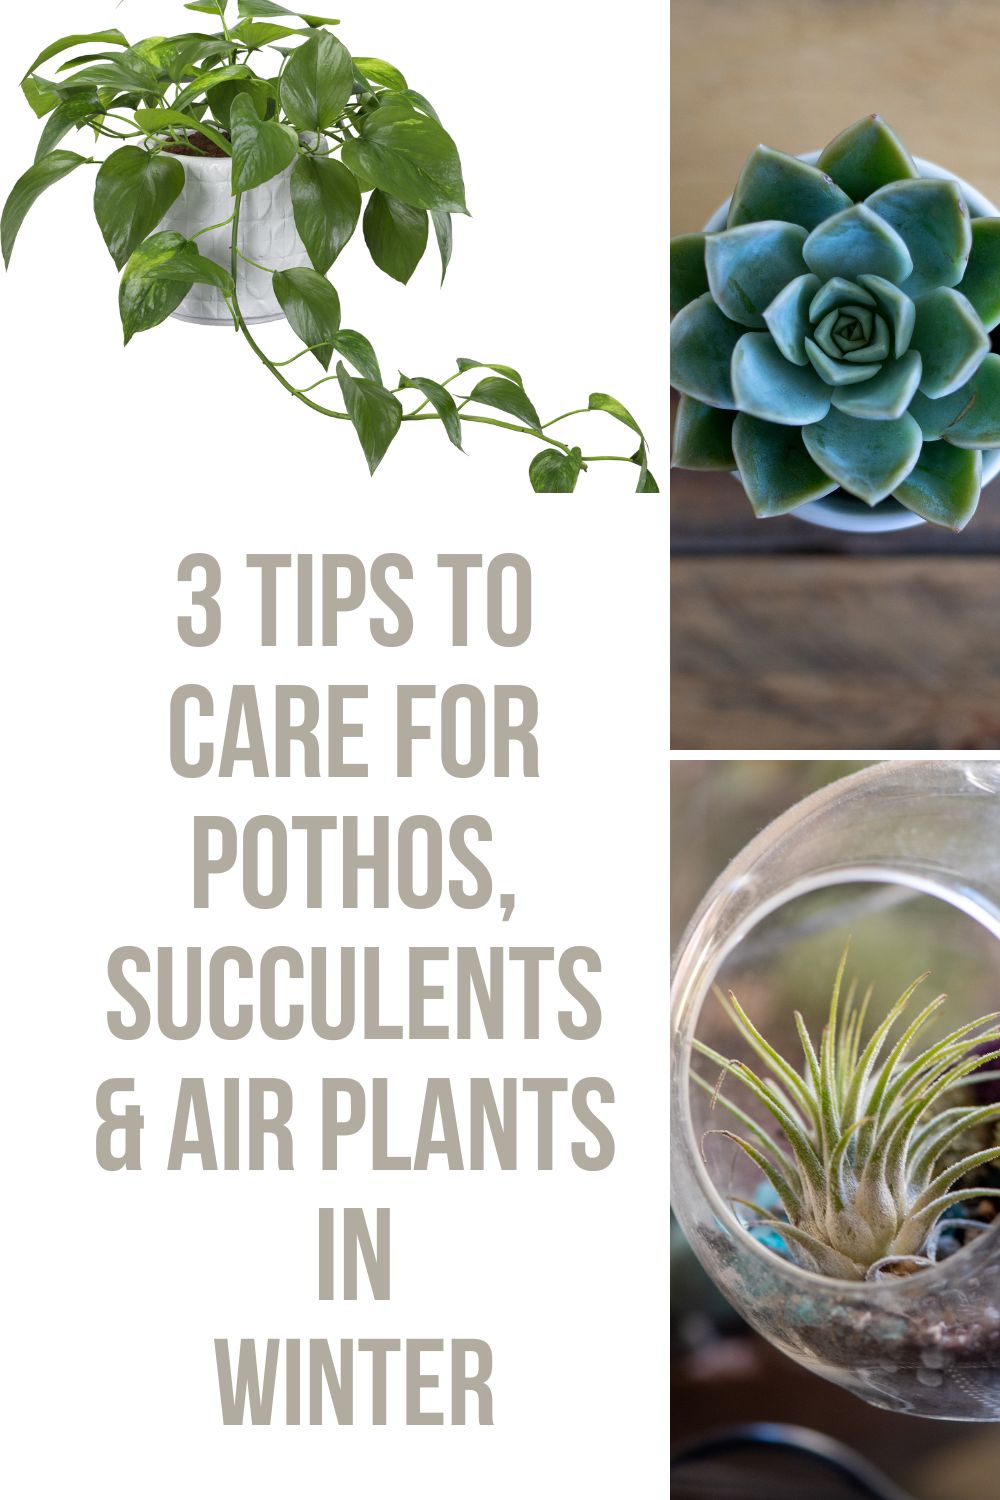
3 Tips to Care for Pothos, Succulents, and Air Plants
Winter can be a challenging time for indoor plants, but with the right care, your pothos, succulents, and air plants can continue to thrive even in the colder months. Here are three essential tips to keep your green friends healthy and vibrant throughout the season.
1. Adjust Watering Habits
During winter, plants typically require less water due to slower growth and lower light levels. Overwatering can lead to root rot, which is especially harmful in cooler temperatures.
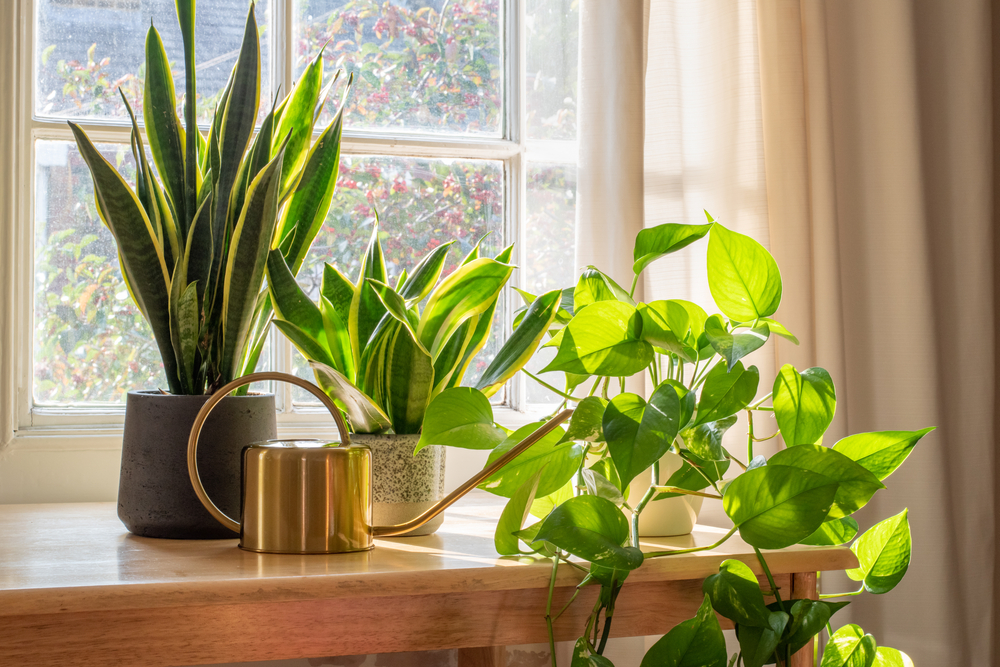
- Pothos: Allow the top inch of soil to dry out before watering. Watering once every 2-3 weeks should suffice, depending on indoor humidity levels.
- Succulents: Water sparingly, about once a month, and ensure they are in well-draining soil to prevent water retention.
- Air Plants: Mist lightly once a week and soak them for 20-30 minutes every 2-3 weeks to prevent dehydration without overdoing it.
2. Optimize Light Exposure
Shorter days and lower sunlight intensity can affect plant growth. Maximizing available light is key to keeping your plants happy.
- Pothos: Place them near a bright, indirect light source such as a south or east-facing window. Consider rotating the pot occasionally for even growth.
- Succulents: Provide as much direct sunlight as possible by positioning them near the sunniest window in your home, or supplement with grow lights.
- Air Plants: Keep them in a bright spot with indirect light, and avoid placing them too close to heating vents, which can dry them out.
3. Maintain Proper Humidity and Temperature
Indoor heating systems can create a dry environment that may stress your plants. Providing consistent humidity and temperature can make a big difference.
- Pothos: They thrive in moderate humidity, so occasional misting or placing a small humidifier nearby can help.
- Succulents: These plants prefer drier air, so avoid high humidity areas and keep them away from cold drafts.
- Air Plants: They enjoy higher humidity levels, so consider placing them in kitchens or bathrooms where moisture is naturally higher.
By following these simple winter care tips, your pothos, succulents, and air plants will not only survive the colder months but continue to flourish and bring life to your indoor space. Happy winter gardening!