Starting your own herb garden can be a rewarding and delicious experience. Whether you live in a city apartment or have a spacious backyard, growing herbs in containers is a versatile and accessible way to bring fresh flavors to your kitchen. Here’s a guide to help you get started with some of the best herbs for beginners and how to care for them.
Why Grow Herbs in Containers?
Growing herbs in containers offers several benefits:
- Space efficiency: Perfect for small spaces like balconies or windowsills.
- Mobility: Easily move your herbs to follow the sun or bring them indoors during cold weather.
- Control: Better management of soil quality and moisture levels.
Best Herbs for Beginners
- Basil
- Parsley
- Mint
- Chives
- Thyme
Getting Started
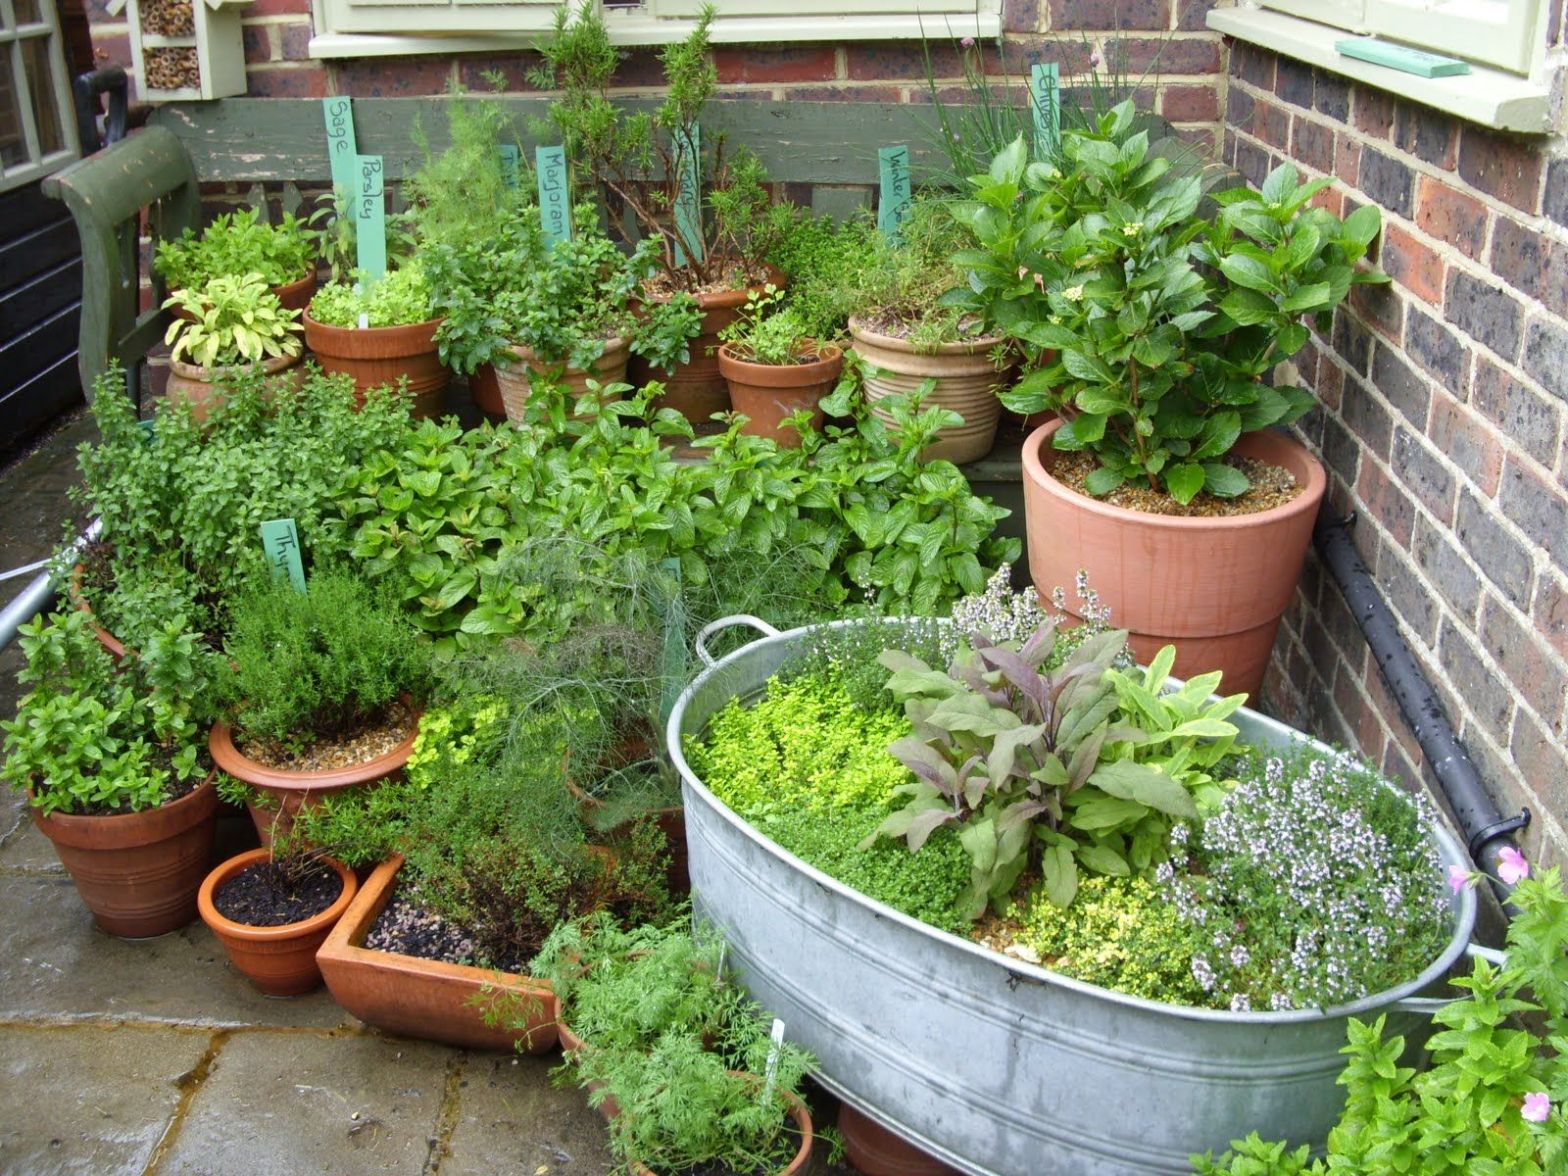
1. Choose the Right Containers
Select containers with good drainage holes to prevent waterlogging. Terra cotta pots are popular for their breathability, but any container with drainage will work.
2. Use Quality Soil
Use a high-quality potting mix designed for containers. Herbs prefer well-draining soil, so consider adding perlite or sand to improve drainage.
3. Planting Your Herbs
Basil: Basil thrives in warm, sunny conditions. Plant seeds or seedlings in a sunny spot and keep the soil consistently moist but not waterlogged. Pinch off the top leaves regularly to encourage bushier growth.
Parsley: Parsley can be grown from seeds or seedlings. It prefers partial to full sun and regular watering. Soak seeds overnight before planting to speed up germination.
Mint: Mint is vigorous and can quickly take over a garden bed, making it perfect for containers. Plant mint in a partially shaded spot and water regularly. It’s best to start with a seedling rather than seeds.
Chives: Chives are hardy and easy to grow. Plant seeds or seedlings in a sunny spot. They prefer well-drained soil and regular watering. Harvest by snipping off the leaves close to the base.
Thyme: Thyme is a drought-tolerant herb that thrives in full sun. Plant seeds or seedlings in a sunny spot with well-draining soil. Water sparingly, allowing the soil to dry out between waterings.
4. Caring for Your Herbs
Watering: Most herbs prefer consistently moist soil, but overwatering can lead to root rot. Water when the top inch of soil feels dry.
Feeding: Herbs generally don’t require much fertilization. A light feeding with a balanced, water-soluble fertilizer once a month during the growing season is sufficient.
Pruning: Regular harvesting encourages new growth and keeps herbs bushy. Pinch off the top leaves and flowers to prevent bolting.
Sunlight: Most herbs need at least 6 hours of sunlight daily. If growing indoors, place them near a sunny window or use a grow light.
Pest Control: Check your plants regularly for pests like aphids and spider mites. Use organic methods such as neem oil or insecticidal soap to keep pests at bay.
5. Harvesting Your Herbs
Harvest your herbs in the morning after the dew has dried but before the heat of the day. Use sharp scissors or pruning shears to avoid damaging the plant. Regular harvesting encourages bushier growth and prevents flowering, which can make some herbs bitter.
Conclusion
Growing herbs in containers is a delightful way to enhance your cooking with fresh flavors while enjoying the satisfaction of nurturing plants. With these tips, you’re well on your way to a thriving herb garden. Happy gardening!