
Starting with Good Garden Soil

Soil is one of the most critical elements to get right when you’re growing your own herbs, fruits, and vegetables. The raised bed and trellis provide a strong foundation for your garden, but it’s the soil (and the water and the sunlight) that will fill your space with life. Good soil is the difference between having a bunch of boxes and having sprouts, plants, and of course, delicious fresh harvests. If I hear someone saying their plants aren’t doing well (their leaves are changing color or the plants just aren’t growing or they’re having major pest issues), my first question is: “Have you checked your soil?”

Most of the plants that you’ll want to grow in your raised beds are annuals that finish their life cycles in 30 to 90 days. It’s often best to start annuals from seed, but these plants can have a difficult time sprouting in certain types of soil because they don’t have strong enough root systems to push through.

Peas, carrots, radishes, tomatoes, peppers, squash, eggplants, tomatillos, beets, cabbage, kaleβ€”these all have a fairly fragile root system. Their tender roots are not meant to push deep into the earth like those of an oak tree. Because of this, the roots for edible plants require a unique kind of soil, not the kind of soil that you’re going to find in your landscape. 

Make Your Own Garden Soil for Your Raised Beds

Potting soil can be a great base for raised bed soil, it can still be lacking in key nutrients and structure – often actually being too light if it is used exclusively as the soil for raised beds. Of course, another big drawback for potting soil is its cost. It can certainly get quite expensive to fill large raised beds entirely with bags of potting soil.

So what is the solution? How can you make the best raised bed soil around without breaking the bank? 

4 Must Add Ingredients To Create Great Raised Bed Soil

First:  Top Soil / Garden Soil

Whether you are using existing soil from your garden, or purchasing top soil, it’s important to use a base soil that is loose and free of heavy clumps. The soil in raised beds needs to be heavier than pure potting soil, but not so heavy that plant’s roots can’t grow in it.

If using soil from your garden, it’s a great idea to till it prior to adding to help break it up into a finer consistency. And if purchasing soil, it’s best to look for pulverized topsoil. This is soil that has been run through a screen to be loose and friable.

You can find topsoil in bags or in bulk – but however you purchase it, the important part is to be sure it is loose and breaks apart easily. Raised beds should consist of about 75% (topsoil or garden) soil.

Next, it’s time to lighten up and energize your raised bed soil. And to do that, it all starts by adding in compost! Without a doubt, compost is the number one must-use ingredient to add to raised bed soil. Compost truly has it all. It’s lightweight, full of nutrients, and also contains all kinds of helpful bacteria and organisms that bring soil to life.When it comes to how much compost is enough when adding to raised beds, a good rule of thumb is to get your soil’s overall make-up to consist of around 20% compost.

Thirdly , probably one of the most overlooked and under-used of all natural ingredients, perlite can be a huge difference maker for helping the soil in raised beds and containers.Perlite is incredible for lightening the overall structure of soil. Weighing less than a pound for cubic foot, those tiny pebbles help to lighten heavy soil in an instant. They also keep the soil around it from compacting together. That, in turn, is great for allowing water, oxygen and nutrients to flow more easily to the roots of plants.

A good rule of thumb for adding perlite to your raised beds is to mix in 1 cup of perlite for every square foot of raised bed space. And here is some good news, even though it is natural and organic, it doesn’t break down – so you wont have to keep replacing it! 

Lastly, coffee grounds and ground up egg shells is what I like to add to the raised beds. Coffee grounds are a great source of low and slow source of nitrogen for plants. They also help to absorb and hold moisture and add humus and structure to the soil. Egg shells, on the other hand, are a great source of calcium and other trace elements that can help rebuild tired soil.

But don’t just crumble up your egg shells and toss them in the dirt! When adding egg shells, it’s always best to first grind them into a powder. Even small egg shell pieces can take a long time to break down. But by pulverizing them first, you speed up the process to help quickly release the power of the shell into the soil.

The ideal garden soil blend will be dark in color and have some moisture in it. It won’t fall apart in your hand the minute you pick it up; it’ll hold together in some shape or form but still have a bit of looseness. Instead of letting water run right through, the ideal soil will hold water just long enough for the plants to take it up. You can follow more tips along in our previous blogs!

Saving water in the Garden

Saving water in the garden is crucial, especially in areas with hot, dry climates or even in milder regions where water conservation is a priority. Here are some strategies for both climates:

In Hot Climates with Little Rainfall:

  1. Mulching: Apply a thick layer of organic mulch (like wood chips, straw, or compost) around plants to retain soil moisture, reduce evaporation, and keep the soil cool.
  2. Drip Irrigation: Use drip irrigation systems to deliver water directly to the plant roots, minimizing water loss from evaporation and runoff.
  3. Water Early or Late: Water your garden early in the morning or late in the evening to reduce water loss from evaporation during the hottest part of the day.
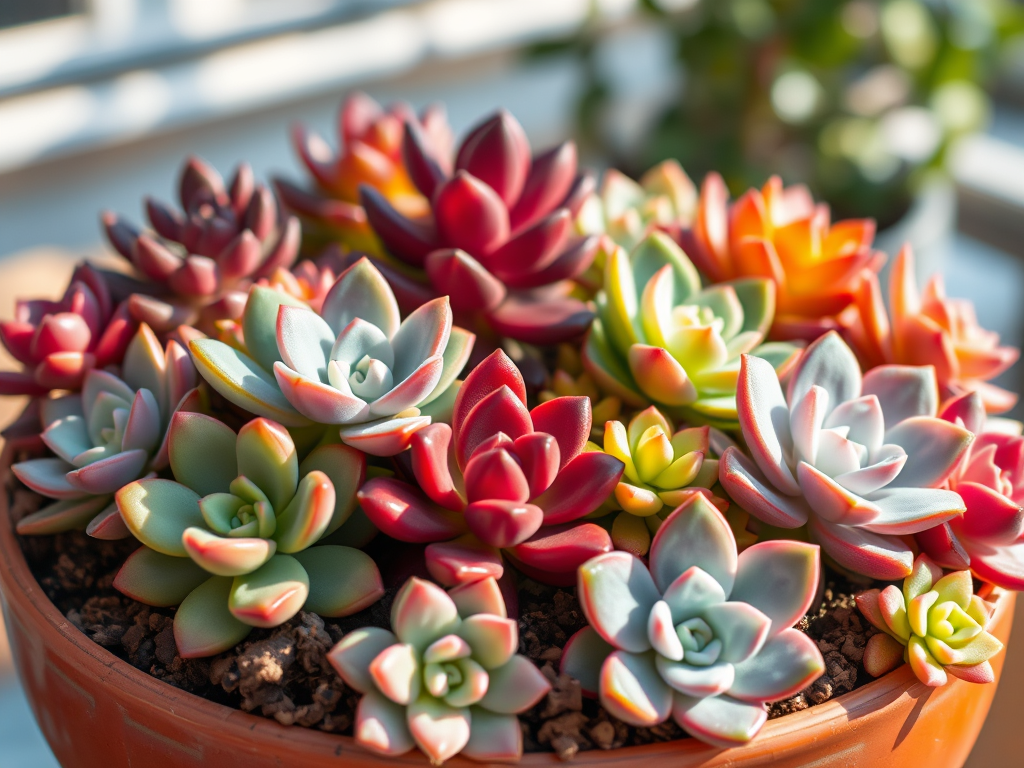
  4. Xeriscaping: Incorporate drought-tolerant plants that require less water, such as succulents, cacti, or native plants adapted to arid conditions.
  5. Rainwater Harvesting: Install rain barrels or other systems to collect and store rainwater when it does occur, which can then be used during dry periods.
  6. Shade Plants: Provide shade for sensitive plants using shade cloths or strategically planting taller plants that can offer natural shade.

In Mild Climates:

  1. Efficient Watering: Use soaker hoses or drip systems for targeted watering, ensuring water reaches the roots without waste.
  2. Choose Native Plants: Select plants that are native or well-adapted to your local climate, which often require less water and are more resilient.
  3. Group Plants by Water Needs: Organize your garden so that plants with similar water requirements are grouped together, making it easier to water them appropriately.
  4. Soil Improvement: Enrich your soil with organic matter like compost to improve its water-holding capacity, reducing the frequency of watering.
  5. Lawns: Consider reducing lawn areas or replacing grass with ground covers, native plants, or hardscaping to reduce water use.
  6. Rain Sensors: Install rain sensors on automatic irrigation systems to prevent unnecessary watering when it’s already raining.

These methods can help conserve water while keeping your garden healthy and thriving, no matter the climate.

DIY Bee Water Station

Creating a bee water station is a wonderful way to help bees stay hydrated, especially during hot weather. Here’s a step-by-step guide to making one using a bottom terracotta planter dish, pebbles, and water:

Materials Needed:

  1. Terracotta planter dish (shallow)
  2. Pebbles or small stones
  3. Water

Instructions:

  1. Choose a Location:
    • Find a suitable location for your bee water station. It should be in a place where bees are active, preferably near flowering plants, but away from high-traffic areas for humans and pets.
  2. Prepare the Terracotta Dish:
    • Clean the terracotta dish thoroughly to remove any dirt or debris. A quick rinse with water should suffice.
  3. Add Pebbles:
    • Place a layer of pebbles or small stones in the terracotta dish. The pebbles should be enough to cover the bottom of the dish, but not too high. Aim for a single layer that leaves enough space for water to pool between the stones.
  4. Add Water:
    • Pour water into the dish, making sure the water level is just below the tops of the pebbles. This ensures that the bees can land on the pebbles and drink safely without the risk of drowning.
  5. Place the Water Station:
    • Set the dish in your chosen location. Make sure it’s on a stable surface so it doesn’t tip over easily.
  6. Maintain the Water Station:
    • Check the water station daily to ensure there’s enough water. Refill as needed, and clean the dish and pebbles periodically to prevent algae build-up and keep the water fresh.

Tips:

  • Shade: Place the water station in a spot that gets partial shade to keep the water from evaporating too quickly.
  • Attract Bees: Plant bee-friendly flowers nearby to attract more bees to the water station.
  • Clean Water: Use fresh, clean water to keep the bees healthy and happy.

This simple and effective bee water station can make a big difference for local bees, helping them stay hydrated and thrive in your garden.

Follow the link and save the video :https://pin.it/79To1Z0Kn

DIY Harry Potter Mandrake Craft

DIY mandrake Harry Potter craft will be the hit of the party! This kid-friendly craft is easy to make and any Harry Potter fan will love sculpting their own baby mandrakes.Β A mandrake is a magical and sentient plant which has a root that looks like a human (like a baby when the plant is young, but maturing as the plant grows). When matured, its cry can be fatal to any person who hears it. The kids loved sculpting with air dry clay. The nice thing about this clay is that it’s soft and pliable, making it easy to sculpt with. It also doesn’t require baking, just simply leave out overnight to dry. Our local library hosted a Harry Potter Birthday bash and I loved working with the kids on creating this fun craft.

Here are the supplies that you need to create your own mandrake. You can find everything on Amazon or at your local craft store. A 2.5lb tub of Crayola Air Dry Clay will make 4 mandrakes. Toothpicks and plastic knives can be used for sculpting mandrake faces.

In order to create your very own Mandrake, start by rolling the air dry clay into an oval shape with two arms coming off the body. Place the clay in the terra cotta pot. Twist the top to make it into a pointed shape, as shown in the photos below. Use a toothpick or plastic knife to create a face. There’s really no wrong way to create your own mandrake. Place a few faux leaves in the clay and allow to dry overnight. Get your hands dirty and have some sculpting fun!

Next time you are in a crafty moment, try making one of these!

Coding Interface

Forging Better Test Frameworks

Home is Where the Boat Is

Potting, Puttering & Pontooning

Cats and Trails and Garden Tales

Cats, travel, gardens and life in the Pacific Northwest

Leaf And Twig

Where observation and imagination meet nature in poetry.

phillipsplace

A new beginning, mobile home living, adding our style inside and out.

Ruth E. Hendricks

Daily Journal of Life in Pittsburgh

The Haute Mommy Handbook

Motherhood Misadventures + Creative Living

Suzanne's Mom's Blog

Arts, Nature, Good Works, Luna & Stella Lockets & Birthstones

Sarah Rajkotwala - Author & Spiritual Teacher blog

Gardening Fairies Flowers Spirituality Angels Love Joy

Ideas and Advice for How To Live a Joyful and Empowered Life.

All Things Empowering - Healing Ourselves & Earth, Self-Sufficiency, Food Forests, Gardening, Art, Road Trips, Preserving, Foraging, Permaculture, Homesteading and More!

America On Coffee

We’re just inviting you to take a timeout into the rhythmic ambiance of our breakfast, brunch and/or coffee selections. Enjoy!

Heart to Hearth Cookery

Sharing my Experimental Archaeology of Food