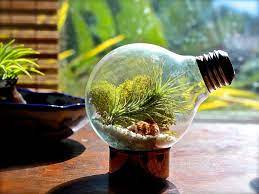
Eco Friendly Gardening

One way to create an eco-garden is by going organic. You can grow fruits, vegetables, flowers, and lawn in a more organic manner by avoiding chemical pesticides and fertilizers. Instead, focus on using non-GMO seeds and organic compost and mulch in your garden. You can also utilize techniques such as companion planting to reduce the need for fertilizers and pesticides in your garden.

With many parts of the US experiencing drought and water shortage, you can make your garden eco-friendly and green without feeling guilty about using municipal water by installing rain water barrels. These are barrels that will collect rain water  and store them for use in the garden. You can install a mechanical sprinkler or hose to the rain water barrel to make watering your garden easier.

Depending on the size of your garden, you can either install a compost pit or a compost bin in your yard. A decorative compost bin is a great way to go organic in even a small yard. Simply keep adding dead garden waste and food scraps from your kitchen into the compost bin and spread the compost on garden beds. Let’s be honest, you do not eat everything. There is going to be left over food and scrapings if you cook at home at all.

An eco-friendly garden will have more natural features and local plants and trees in it. Instead of stocking your garden with exotic plants, plant local varieties of trees, flowers, and vegetables. These are easier to grow and more eco-friendly as they require less chemical fertilizers and pesticides. While an eco-friendly garden can be a challenge to design, the pleasures it provides can be greater. You can be sure that you will not develop allergies to the pesticides and chemicals used in the garden. Moreover, you can use your ingenuity to upcycle, recycle, and repurpose items you have found around the house and yard to create your garden. For instance, instead of uprooting a tree stump after chopping down a dead tree, you could leave the stump in place and design a garden feature around it. 

These tips can jump start an eco way gardening living , you can read more of of our blogs to learn about tiny living with plants and creating a fall gardening palate for your yard.

Baby Yoda Terrarium

Growing terrarium plants is also easy as can be. In a closed terrarium, plants will hardly ever need watering and can grow effort-free for years.

Basic Terrarium Plant Tips

Which plants do best in these pint-sized gardens? Here are a few tips to keep in mind:

  • Generally speaking you want to pick plants that can tolerate humidity, since the enclosed nature of a terrarium traps in moisture. Also keep in mind that terrarium plants need to be able to tolerate low or indirect light.
  • Choose plants that are small enough for your terrarium. You don’t want the plants’ leaves to touch the sides of the container.
  • Succulents and cacti can grow in a terrarium, but it’s best to use an open container that will retain less humidity. You should also add some sand to the potting mix to mimic the plants’ native environment.

Easy to care terrarium kits can make a great conversation piece for the home, dorm room, or office! Terrariums are a great way to brighten up a room and It can be a great gardening gift too!  The Terrarium kit that Printhousedesign1 offers is NOT glass, it’s clear plastic giving you the same stylish look without the fragile breakable glass, which is perfect for kids! 

The terrarium offers : 

(1) 6 & 1/2″ round plastic terrarium globe

(1) small (mini) air plant & care instructions

(1) small bag of moss

(1) small bag of black rocks

(1) piece of hemp twine

(1) small 3D printed/ hand painted mini Yoda- stands 2″

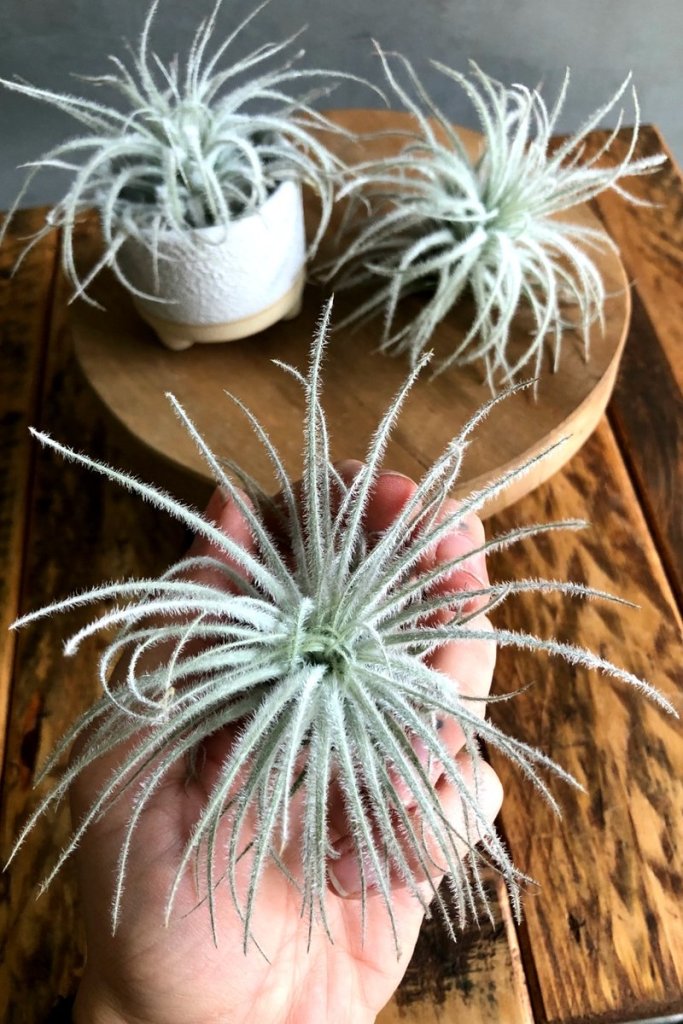
Air plant is a great tiny plant to use in terrariums . Air plants are one of the easiest plants to take care of because no dirt is needed, only sunlight, water ,moss, and air! The kit offers care instructions and directions to help guide you on how to create it.

You can find the fun kit at our Etsy shop by following the link:

Growing microgreens indoors

What are microgreens?

Also known as “vegetable confetti,” microgreens are sometimes confused with sprouts — germinated seeds that are eaten root, seed and shoot. Microgreens, however, include a variety of edible immature greens, harvested with scissors less than a month after germination, when the plants are up to 2 inches tall. The stem, cotyledons (or seed leaves) and first set of true leaves are all edible.

Which seeds work best?

Salad greens, leafy vegetables, herbs and even edible flowers can be grown as microgreens, though some varieties are better suited than others. Beginners often start by growing one type of seed, such as broccoli, cauliflower, cabbage, mustard, chia, sunflower or buckwheat — among the easiest-to-grow varieties of microgreens — in a single container. (You can easily grow different seeds in several containers, and mix your microgreens after harvesting.)

Microgreens offer a palette of fresh flavors, from mild to spicy, and inspire repeated plantings for an ongoing supply of fresh greens for creative uses. Here’s how to grow microgreens indoors. To grow microgreens indoors you will need potting mix and bright light. Flavors range from intense, like a full-grown plant, to subtle.

To get started growing microgreens indoors, remoisten the soilless seed-starting mix, which is a sterile medium that is formulated to promote seed development. Sprinkle warm water onto the mix and blend until it is thoroughly damp.

Fill each container with premoistened seed-starting mix. There’s no need to pack it into place—packing the container too tight will lead to drainage issues. Set the container on a watertight drip tray.Sprinkle seeds evenly over the surface of the seed-starting mix, sowing them more thickly than you ordinarily would. Leave at least 1/4 inch of space between the seeds

Cover the seeds with vermiculite. This mineral-base material absorbs water and releases it slowly, keeping seeds damp but not too wet. Follow instructions for planting depth provided on the seed packet. Some seeds should be barely covered; others need thicker covering to germinate (sprout and grow) well. Label plantings.

Water the sown seeds with a gentle shower, soaking the vermiculite without washing away the seeds. Until the seeds germinate and green shoots sprout from them, water lightly as needed to keep the seed-starting mix damp. If the mix is too wet, seeds cannot root and fail to grow.

To encourage the best growth of microgreens indoors, cover the containers with a lightweight sheet of plastic or a domed lid to maintain humidity and promote germination. Set the drip tray on a heat mat designed for seed starting or on a heating pad. When the seeds germinate, remove the lid and the heat source. Set the containers on a sunny windowsill to help your microgreens grow indoors. Keep the planting medium damp, and promote healthy growth by watering from the bottom. Pour water into the tray and allow it to be absorbed into the soilless mix. To harvest the microgreens, hold a section with one hand and use the other to snip with scissors. Keep your microgreens cool and in an airtight container until you’re ready to use them. Their shelf life in the refrigerator is about a week.

Small indoor plants for tiny living

House plants can bring vibrant colors  and bring nature inside.There are plenty of choices for small indoor plants that can help provide the right touch of green without taking up a large chunk of your room!Small plants, like succulents and air plants, are perfect for adding greenery to your desk or your nightstand. Slightly bigger plants like peace lilies can take up some floor space, but they won’t overwhelm any corner of the room with lush leaves or big roots.The best part about most small potted plants is that they can fit almost anywhere in your home. You can even get creative! Think about adding some cute plants in unexpected places like near your bathroom window, in a hanging planter or even on your wall with a space-saving living wall.

Air plants are interesting plants since they don’t need soil to survive. These are great if you’re looking for a small plant and don’t want to deal with pots or soil. If you choose to house your air plant in a terrarium, make sure it has an opening so it gets plenty of circulation.

Did you know that aloe vera plants are a part of the succulent family? Just like their relatives, they enjoy the sun and prefer that their soil is completely dry between waterings. These small potted plants are handy to keep around if you have any minor burns, like a sunburn. 

The asparagus fern is actually a part of the lily (liliaceae) family. If possible, give this plant some breathing room on either side so its leaves can fan out. It will add a beautiful splash of green on any shelf or table.

The echeveria is one of the most common types of succulents. Little plants like these are more commonly found at office and home desks due to their easy care and small size. A common cause of death, however, is overwatering. Make sure to let your plants’ soil dry completely before giving them another drink.

These small plants can grow in both soil and in water. If you choose to grow your lucky bamboo in water, make sure you replace the water every 7 to 10 days and use filtered water if possible. If you plant it in soil, make sure to water it when the first inch of its soil starts to feel dry.

Cacti and succulents are now a very common houseplant and caring for your cacti and succulents is important. They come in a vast range of shapes and sizes from the petite to the grand. Cacti and succulents fall into the same group because they both have characteristics meaning they can survive in arid environments. They love direct light and watering should be done when the soil is completely dry. 
These above tiny plants can be the perfect house plant to start your tiny indoor garden. You can find air plants at our Etsy shop under the “live plant” section.www.printhousedesign.com you can find the other indoor plants at your local garden shop.

Air plant Care Tips

Air plants have become a top contender in being the most wanted houseplant, and with indoor plants already being such a huge trend, that’s saying something. They don’t need any soil so you’re free to move them around and display them as you like. Plus, they’re as low maintenance as a plant can be. Read on to get all the details on this must-have plant!

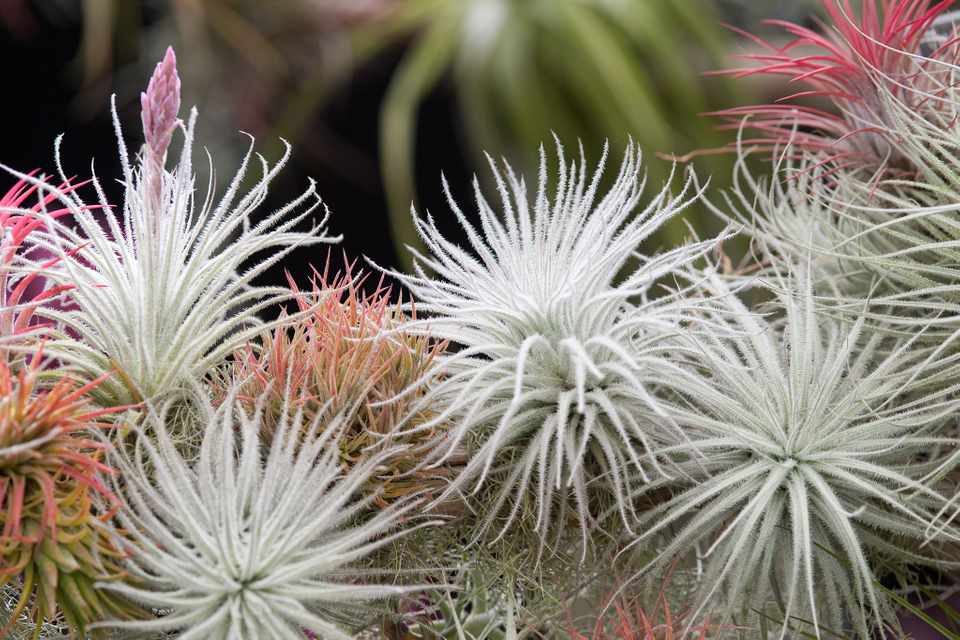
Tillandsia (a.k.a. air plants) is the largest genus in the bromeliad family. There are more than 600 known species and countless hybrids. They’re native to Central and South America and even a small part of the Southern US. Did you know – Tillandsia are epiphytes, which means they typically live on on a branch, trunk, rock, or other place that isn’t soil so they aren’t saturated in water for long.Tillandsia roots are purely for attachment to tree branches or whatever surface they chose to attach to. So you don’t even have to worry about watering them!

Where to put your air plants to keep them healthy?

Air plants love indirect bright light. So placing your plant in a room with sunlight coming in will work best for them.  You can also use artificial light if any of your rooms don’t have the best light. Just remember to use the light 12 hour at a time. ( 6am-6pm)

Air plants prefer temperatures in the range of 50-60 degrees F at night rising to 80-90 degrees during the day. In other words, they’ll be pretty happy inside the average home, temperature-wise. What doesn’t make some of them so happy in the average home is the lack of humidity. (Mesics, I’m especially looking at you.) Keep your air plants away from heating vents and fires.

Overall, they prefer humidity in the 50-70% range. So its not too far off from the average indoor humidity level, which often falls around 40-60%, but not enough for them to do well without supplemental water.

Air Plant Watering

When it comes to air plants, there are some who swear by misting, others by soaking, or a combination. I will lay it out from the get-go; I fall into the soaking camp. I have a couple of reasons why I think this is easier and more practical.

If you choose to mist, to give your air plants enough moisture, misting needs to happen roughly every other day, depending on  your tillandsia type and your conditions. (Again, less if you live in Miami, more if you live in Palm Desert.)

If you have just one air plant, that may be a realistic schedule to stick to. Just keep your mister nearby, whip it out and mist every other day or so.

Air Plant “Bath Day”

About every week I pick a day where I take all the air plants and place them in groups and dunk them into my water jug with collected rainwater. I soak them for at least 7-8 minutes then when the time is up I place them upside down to air dry completely before placing them back into their space near the window. 

Did you know that air plants bloom! …

When air plants bloom, they will eventually die. It’s a slow process that may take several months or even more than a year, but it will happen. However, the upside is that it should produce pups which you can gently twist off and then you’ll have a new, smaller, air plant.

You can visit our Etsy shop to see over 50 different style air plant planters for your little air plant to show off in your space!

http://www.printhousedesign.com

Coding Interface

Forging Better Test Frameworks

Home is Where the Boat Is

Potting, Puttering & Pontooning

Cats and Trails and Garden Tales

Cats, travel, gardens and life in the Pacific Northwest

Leaf And Twig

Where observation and imagination meet nature in poetry.

phillipsplace

A new beginning, mobile home living, adding our style inside and out.

Ruth E. Hendricks

Daily Journal of Life in Pittsburgh

The Haute Mommy Handbook

Motherhood Misadventures + Creative Living

Suzanne's Mom's Blog

Arts, Nature, Good Works, Luna & Stella Lockets & Birthstones

𝑻𝒐𝒓𝒏𝒂𝒅𝒐 𝑶𝒇 𝑪𝒉𝒂𝒐𝒔 🌪

Thoughts, experiences and learnings in a turbulent time

Sarah Rajkotwala - Author & Spiritual Teacher blog

Gardening Fairies Flowers Spirituality Angels Love Joy

Ideas and Advice for How To Live a Joyful and Empowered Life.

All Things Empowering - Healing Ourselves & Earth, Self-Sufficiency, Food Forests, Gardening, Art, Road Trips, Preserving, Foraging, Permaculture, Homesteading and More!

America On Coffee

We’re just inviting you to take a timeout into the rhythmic ambiance of our breakfast, brunch and/or coffee selections. Enjoy!

Heart to Hearth Cookery

Sharing my Experimental Archaeology of Food