Whether you want to keep mosquitos out of your yard or harmful pests out of your vegetable garden, there are natural ways to repel bugs that don’t involve citronella candles or pesticides.
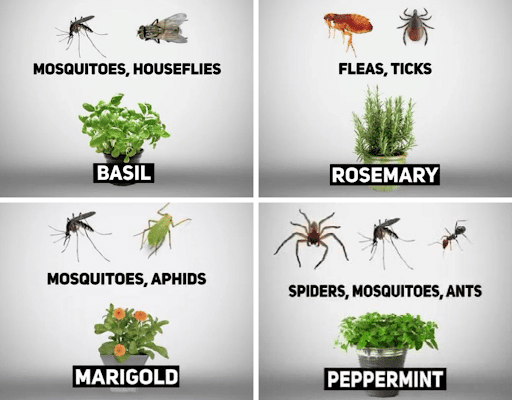
Basil: This easy-to-grow culinary herb doubles as a repellent for houseflies and mosquitoes. Plant basil in pots and place them around patios to form a protective barrier.
Bay leaf: Bay is slow-growing repellent plant and common ingredient in soups and stews. Bay leaves also repel flies, cockroaches, and ants. As an alternative to growing your own bay leaf plant, you can also purchase bay leaves at the grocery store and sprinkle pieces of the leaves around pest-heavy areas of your garden.
Chives: When planted in your garden, this allium plant deters Japanese beetles, carrot flies, aphids, mites, and even rabbits.
Chrysanthemums: Since they naturally contain a compound called pyrethrum that’s common in many artificial insect repellents, chrysanthemums are an effective way to deter pesky insects like spider mites, silverfish, Japanese beetles, ants, bed bugs, roaches, and fleas.
Dill: Planting dill is a way to repel bugs like spider mites, squash bugs, and aphids from your vegetable garden. A word of warning: Dill is known to attract tomato hornworms, so keep dill away from your tomato plants.
Garlic: This pungent allium plant is a bug repellent for carrot flies, cabbage worms, slugs, and aphids.
Geraniums: An iconic flower popular for flower beds and hanging baskets, geraniums deter many types of insects, including mosquitoes and leafhoppers.
Lemongrass: This attractive, tall-growing ornamental grass is a common ingredient in herbal teas. It contains a fragrant citronella oil that acts as a mosquito repellent.
Lemon thyme: Often grown for culinary purposes, lemon thyme helps keep mosquitoes at bay. Its tiny flowers also attract bees which help the pollination of surrounding plants.
Marigolds: The aroma of marigolds repels mosquitoes, aphids, and rabbits.
Mint: The essential oils found in mint plants—as well as other members of the mint family, like sage, peppermint, hyssop, lemon balm, oregano, and catnip—are all worthy mosquito repellents. Studies have indicated that catnip essential oils are more effective at repelling mosquitos than the chemical DEET, which is used in most synthetic insect repellents. Learn how to grow mint in your home garden here.
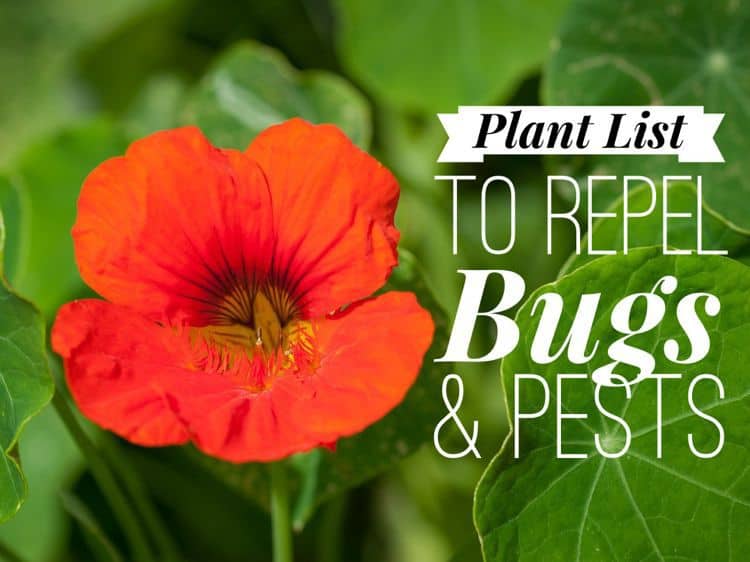
Nasturtiums: Nasturtiums are known as a “trap crop” because instead of repelling pests, they attract them to their own leaves. This means bugs like cabbage moths and aphids will focus on the nasturtiums instead of crops like cabbages, tomatoes, and beans. This makes nasturtiums a popular flower to plant along the border of vegetable gardens.
Pest-repelling plants can be both fragrant and beautiful. Try planting a few of these in your garden to keep the bug population in check.