Being on Etsy from the beginning I have learned several tips along the way. If there’s one thing that I’ve learned from my time selling on Etsy, it’s that having my items being shown to people in search results is incredibly important. You can have the most beautiful products in your shop, but if they aren’t being seen it doesn’t even matter. The steps that I’ve outlined in this post are a few techniques that I have learned along the way to use. It’s the key to having a successful shop and making money on Etsy! At the beginning I didn’t realize that there is a lot of work to do to be seen you can’t just open the shop and wait for the customers to come to you, that was one big mistake that many make including myself.
One of the main factors of being shown in Etsy search results is the keywords for your items and where you place them. I’ve been selling on Etsy for 8 years now and I’ve managed to work my way up from the far away pages to the top row on the first search page, mostly because of the simple set of rules that I follow when listing my items. It takes time and work but can be worth it.
KEYWORD SELECTION
Selecting the best keywords for your Etsy listings is one of the most important things that you can do. Just in case your brand new to this, and unfamiliar with what a keyword even is–it’s a word or set of words that your potential buyers would use to search for your items.
You should try to choose one broad keyword, and one more detailed, a long tail keyword phrase for each item that you sell. And you’ll use both throughout the listing. The broad keyword should be easy. Choose the 1 or 2 words that best describe your item. Once you have that keyword, you just need the more detailed keyword. It will be a longer set of words, probably more like 3 or 4 words that describe your item. Just remember keywords/keyword phrases may change for every single item that you list. Depending on what you sell, you may end up using your broad keyword for many of your items. It’s your long tail keyword phrase that is most likely to change quite often.
Also, be sure that the words make sense when read together. DO NOT just pick a few words that describe your item and string them together. You want it to sound like proper language and something that you might say out loud when describing to someone the item.
ETSY SEARCH BOX
One of the easiest ways to get keyword ideas for your listing is to go to the Etsy search box and begin typing your main, broad keyword for the item. As you’re typing, a list will drop down of recent and commonly searched terms. If you choose something from this list as your longer, more detailed keyword, there’s a good chance that you’ll have success with it. Also Etsy is helping you if you to the search bar and before typing will show a list of what words are popular that day/month that are being searched in Etsy. This is a plus! For instance dorm room décor phase is a popular search right now, so if you have an item in your shop that would fall into that category, use that word as a tag or use it in your title.
TITLE & TAGS
Now that you have your keywords, it’s time to add them to your title and tags for your item. Place your main keyword/keyword phrase near the front of the title. You want to add more detailed keyword phrase to the title. Remember to make that phrase sound natural. I always suggest adding some sort of punctuation or visible divider in between the keyword phrases in your title. I prefer commas, pipes, or colons. Whichever you choose will not change how your item shows up in search results–it just makes it easier for shoppers to read.
For example: 3D Printed Skulls Planter for Indoor Gardening, or Stationary Desk Accessories
Use some of the keywords in your tags. If your longer keywords are too long for one tag, divide them into two tags but right next to each other. Try to duplicate your title within your allowed tags. If you have any available tag spots left over, fill them with other relevant words for your items. Think about what you would type in when searching for the item in your shop.
CATEGORIES, ETC.
The categories section is another place that you’ll be fitting in some keywords, although they won’t necessarily be the ones that you chose.
I always suggest getting as detailed as possible when choosing your categories and sub-categories. Begin with the top 2 or 3 that Etsy presents to you, and then continue to choose from their selections until they don’t offer any more. I’ve tried this both ways–by not choosing any other sub-categories after the first couple, so that my listing is in a broader range of search, and by choosing sub-categories all the way until there aren’t anymore. The latter is what has worked best for me, by far.
I try to every month go through my listing and update pictures, and search myself on etsy my item, and see where it is placed in the search pages. If it is placed on the first page, then you know your item is described and being seen by many people. If you notice on of your items is listed on the third or on down in the etsy search pages, then you need to work on that specific listing. This means you might need to reword the title, tags, or change the holiday, or update the pictures.
ETSY SHOP ELEMENTS
There are several other elements to your Etsy shop that you may not give a lot of thought to. These are important and Etsy likes a shop that is complete. Probably the most important aspect is your About page. Etsy loves when this is filled out to the max, and I suspect that they reward those sellers by placing them in search results.
You don’t have to make it perfect right away. Just go in, and fill it with information about yourself, your shop, and anything else you think your potential customers may want to know. There is something to be said about being able to make a connection with the person you’re buying something from, so this will only help!
Pay attention to are your Shop Announcement, Shop Title, and your Shop Policies. The Shop Announcement page is where you can tell your customers about specials, sales, new items, and any other fun information. Plus, it’s also a great place to add your keywords! Your Shop logo icon is also a fantastic place to add your keywords, so be sure that is filled out. I have created a picture banner that describes what my shop is and sells. Your Shop Policies will help your customers get any information about buying from your shop and will eliminate the need for sending a Convo or message. Some people just don’t feel like doing that, so it’s at that point that you lose a customer. If you tell them what they need to know, they’re much more likely to make a purchase. (Also put any policy that you think might be important in your listing description) by doing this the customer is reading it and if they have questions then he or she will contact you.
This may all seem like a lot of work, just to get your items shown to people, and it is, and can be time consuming. Nonetheless, if you want your shop to be a success, and you want to make money with it, then it’s necessary. And worth it!
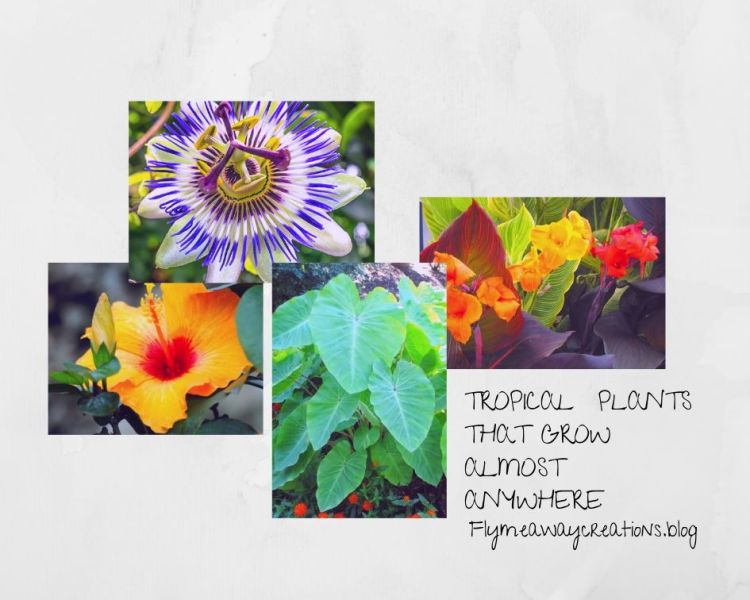
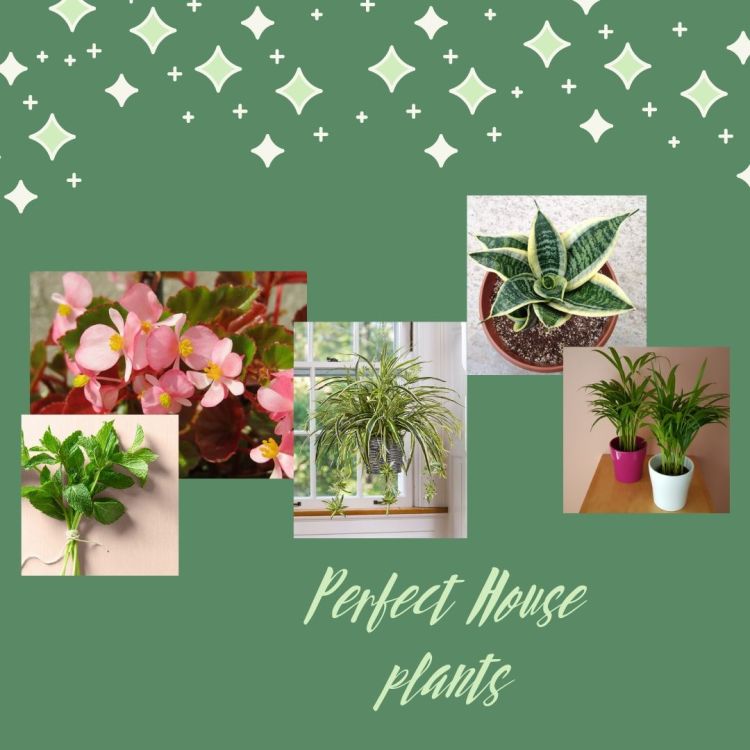
I’m working on more informative posts for your Etsy business, so follow my blog and I will try to help you through your Etsy journey! Also I write about gardening tips, so if you love plants and don’t have a green thumb you need to check out several of my gardening blog posts!