Now that you know how to press flowers, it’s time to display all the beautiful varieties you’ve created.
Materials:
- Pressed flowers
- Glass frame
- Paper towel
Step 1: Clean your frame.
Make sure the glass frame is spotless before using it. Remove the backing and wipe it down with a damp paper towel. Avoid using a cleaning solution because it may react with the pressed flowers and ruin them. Let the frame dry completely before using.
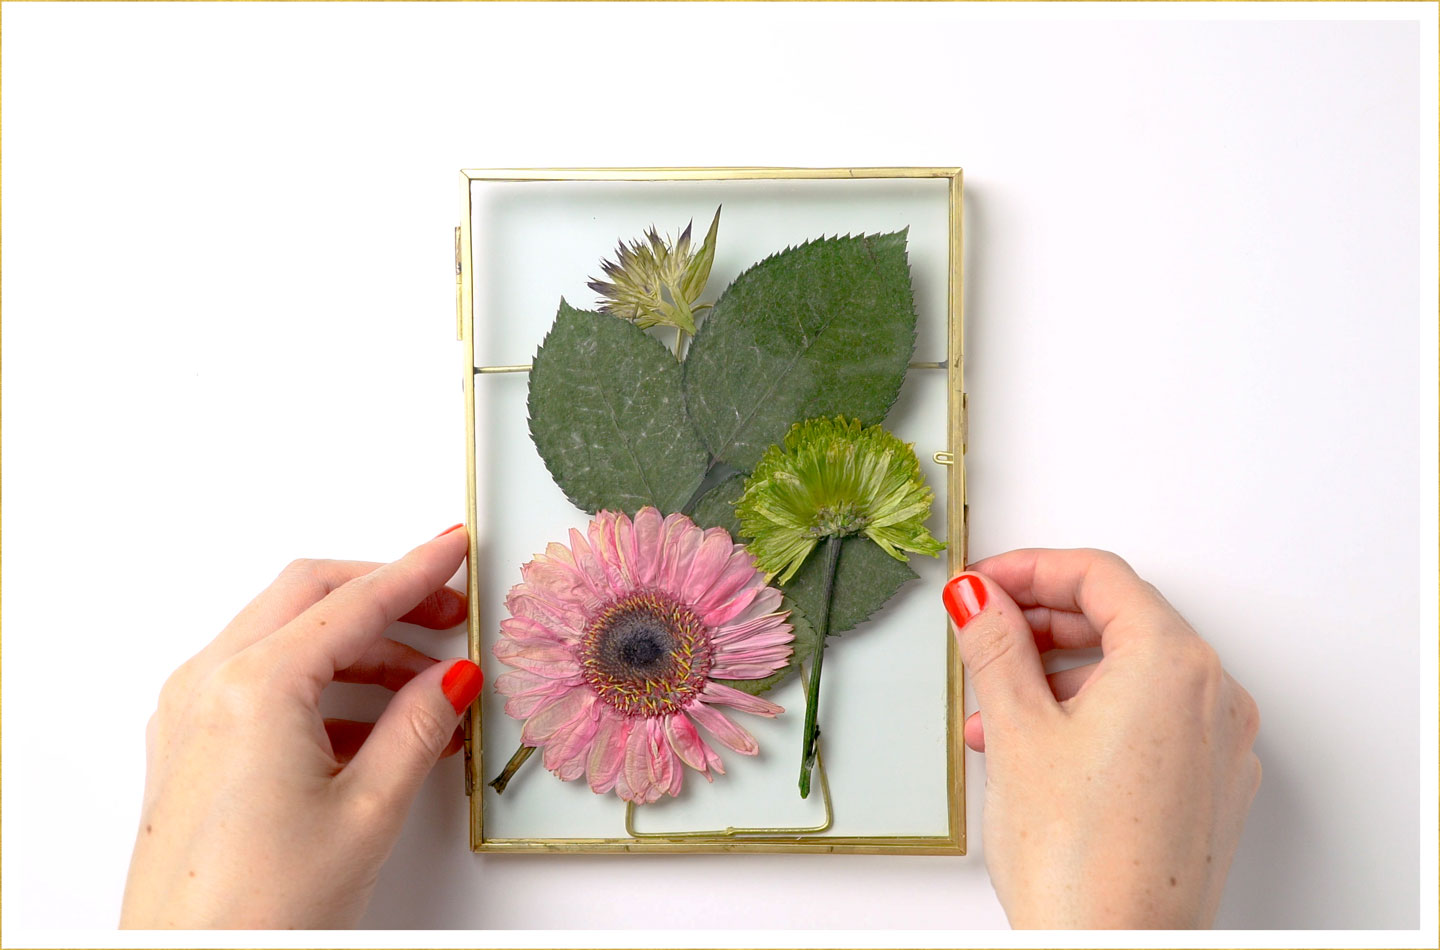
Step 2: Create a design with your pressed flowers.
This is where you get to be creative! There are endless possibilities when it comes to framing flowers. Try a unique pattern or a cute shape like a heart. You can decide to use just the flower buds or keep the stem for a more natural look. Make sure the flowers are facing down when you arrange them in the frame.
Step 3: Carefully return the back to the frame.
Place the back on the frame, taking care not to move your flower pattern. Secure the back. If the flowers aren’t in their desired place, remove the back and adjust them until perfect.
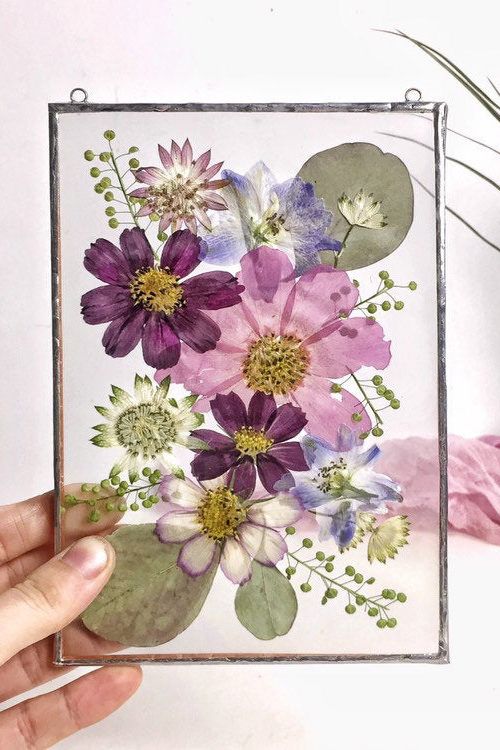
Step 4: Display for everyone to admire!
Pressed flowers are able to maintain their natural color for a very long time, but eventually some amount of fading is inevitable (typically after 5-7 years on average). Some may begin to show fading sooner, while others may last longer.
You’ve created a piece of décor that no one else has. Put this unique piece on display in your home or give it as a gift to someone who loves flowers as much as you do. Pressed flowers can be used in many ways. From botanical prints to crafting cards, they add a unique touch to whatever they are included in. Try adding pressed flowers to a thank you gift to show the recipient how grateful you are.


These are beautiful!
LikeLiked by 2 people
thank you
LikeLike