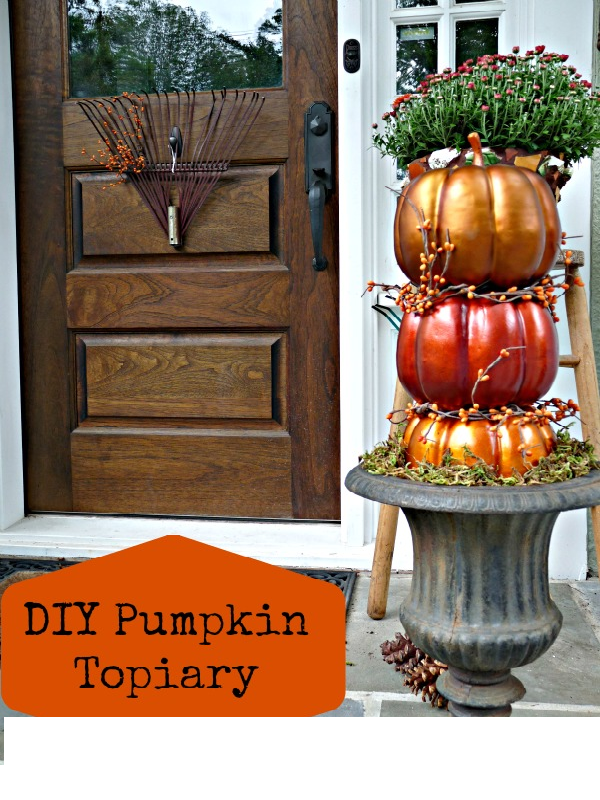
It’s not too late to make a last minute pumpkin project for your porch or for the centerpiece of your halloween party. Fall pumpkin topiary can be an easy decor to incorporate the fall colors with a variety of pumpkins, dried flowers and garlands. Faux foam pumpkins come in all shapes, sizes and colors and if you don’t see the one you like, you can always create your own with paint colors that are your favorite.
What you need to start your DIY Project:
Pumpkin Topiary Supplies:
- 3 or 5 foam pumpkins (in graduated sizes)
- Spanish Moss or other filler
- Berry Garland
- Dowel Rod
- Urn or pot
- Glue Gun
- Floral Foam
- Drill and Drill bit
Pumpkin Topiary Instructions:
Step 1) Cut a piece of floral foam to fit in the bottom of the urn.
Step 2) Using a hot glue gun, spread glue all along the bottom of the foam block and press it to the bottom of the urn.
Step 3) Stick dowel rod into the foam block.
Step 4) Using a drill and large drill bit, drill holes in the bottom and top center of the pumpkins for the dowel rod to slide in. NOTE: Do not drill a hole in the top of the top pumpkin. You wan’t to leave the stem on this one.
Step 5) Place spanish moss or filler on the lip of the urn (no need to glue it down…the pumpkin will hold it in place). Especially if you want to use the urn for something else next spring; just pull the dowel out with the pumpkins and store to put back together next year.
Step 6) Slide the largest pumpkin on the dowel rod first and rest it on the moss.
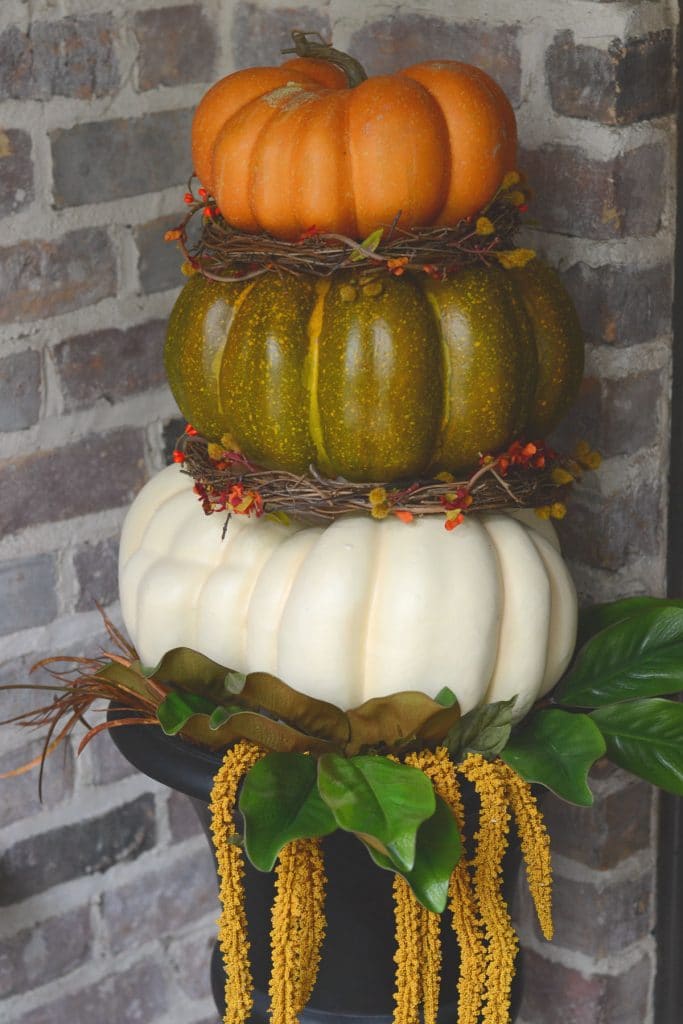
Step 7) Place some moss and garland on top of the first pumpkin and then slide the next pumpkin on to hold the moss in place.
Step 8) Repeat with the next pumpkin until you are on your last pumpkin.
Step 9) Hot glue moss and garland to place them where you want them if needed.
Now that your little pumpkin project is complete you can show it off on the porch or inside on a table!