Composting doesn’t take a break when the weather cools—it just slows down a bit. And that’s okay. What you start now becomes the foundation of your spring garden.
Easy Steps:
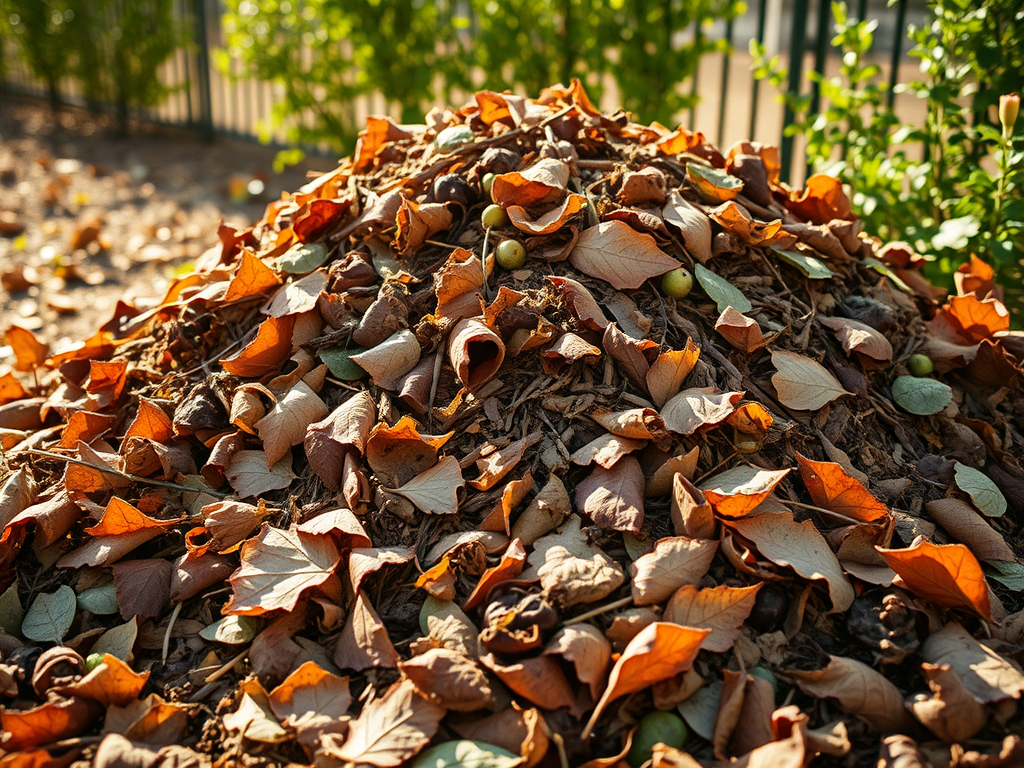
- Start with Browns: Dry leaves, shredded paper, straw.
- Add Greens: Fruit peels, veggie scraps, coffee grounds.
- Mix and Moisture: Keep it damp as a wrung-out sponge.
- Turn Occasionally: Even in winter, give it a stir every couple of weeks.
If you’re short on space, use a sealed bin or tumbler. Come spring, you’ll have rich, crumbly compost ready to feed your beds—nature’s way of saying “good work.”
🍂 Where to Place Your Compost Pile in Fall & Winter
Choosing the right spot makes a huge difference once cold nights settle in.
1. Pick a Sunny Location
Even in winter, sunlight adds warmth.
A sunny patch helps keep the internal temperature higher, which keeps microbes awake and active. Avoid deep-shade corners where frost lingers.
2. Place It Near a Windbreak
Cold wind strips heat fast.
Position your compost near:
- A fence
- A shed
- A garage wall
- A row of shrubs
This reduces exposure and helps the pile hold warmth.
3. Keep It Close to a Water Source
Winter air is surprisingly dry. Your compost may need a splash of water on warmer days.
Having it near a hose or rain barrel makes it easier to maintain.
4. Use the Earth as Insulation
Skip raised platforms this time of year. Place the pile directly on soil so worms and beneficial microbes can slip inside for shelter and help keep decomposition going.
5. If Using a Bin, Tuck It Into a “Cozy Corner”
Back corners of the yard that get morning sun and some afternoon shade are ideal.
Bonus points if you can place it near trees—fallen leaves are compost gold.
🔥 How to Keep Your Compost Working in Winter
When temperatures drop, your compost slows down, but it doesn’t stop as long as you help it along.
1. Build It BIG
A larger pile stays warmer.
Aim for at least 3 ft. x 3 ft. x 3 ft.
The bigger the mass, the more internal heat it holds.
2. Add Plenty of Browns Now
Winter = fewer green scraps and more “browns” available outdoors.
Load up on:
- Dry leaves
- Straw
- Shredded cardboard
- Mulched pine needles
These insulate the pile and keep it fluffy so air can circulate.
3. Chop and Shred What You Can
Smaller pieces = faster breakdown.
During winter, this is a lifesaver, because the microbes are already working in slow motion.
4. Keep It Moist — But Not Wet
Check moisture every two weeks.
- If it feels like a dry sponge, lightly water it on a mild day.
- If it’s soggy, mix in dry leaves or shredded paper.
Frozen compost = okay. Waterlogged compost = bad.
5. Turn It Less Often
In winter, you don’t want to let too much heat escape.
Turn the pile only once every 4–6 weeks, and do it midday when temperatures peak.
6. Cover the Pile
Covering = warmth + moisture control.
Use:
- A tarp
- Old carpet scraps
- A compost lid (if using a bin)
This traps heat and prevents rain or snow from flooding the pile.
7. Add Kitchen Scraps Smartly
When you add fresh greens in winter:
- Dig a small hole in the center of the pile
- Add scraps
- Cover and pat it down
The center stays the warmest and decomposes scraps best.
8. Insulate with Extra Leaves
Surround the pile with bags of fallen leaves like a little “leaf fortress.”
It protects the compost and gives you extra browns to use through the season.
🌿 Closing Thought
As winter settles in and your compost quietly transforms into nutrient-rich gold, you’ll be setting the stage for your strongest spring yet. And when those warm days finally roll back around, you’ll have everything ready to wake up your garden—rich soil, healthy roots, and plants that burst with life. If you’re already dreaming about spring, check out the seasonal goodies in my Etsy shop. Many of my planters and garden gifts pair perfectly with fresh compost and new seedlings, and they make planting season feel even more special. Happy winter composting, friends—spring is closer than it feels.
