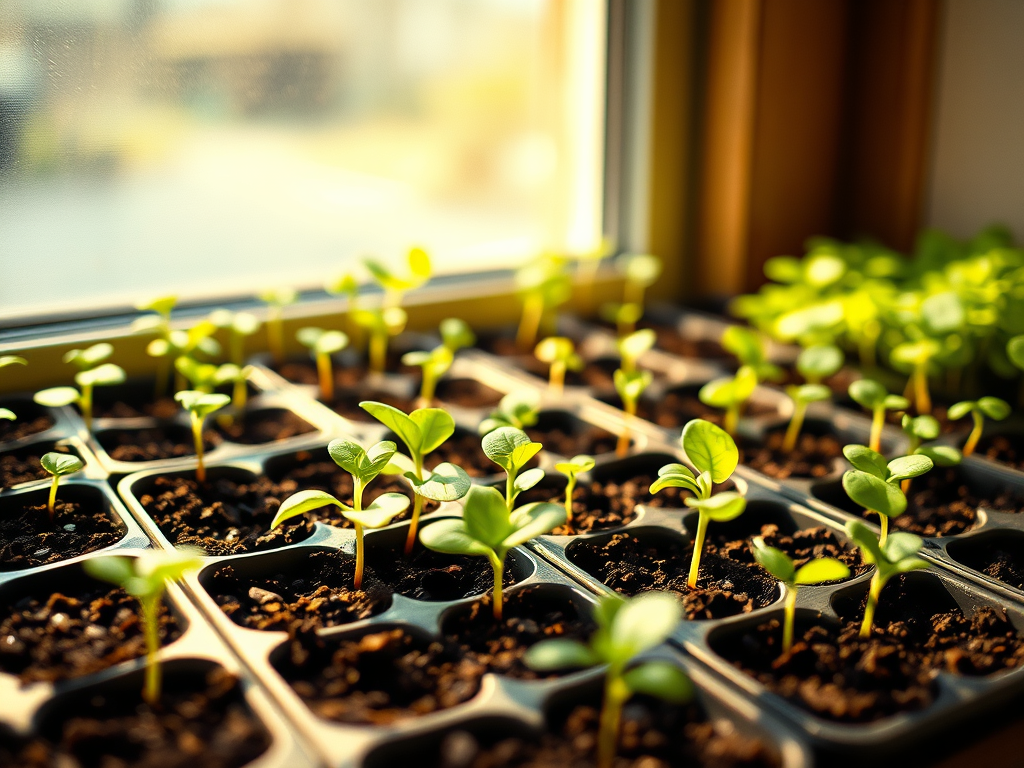
February is the perfect time to start seeds indoors, especially if you’re in gardening zones 6-10 and want to get a head start on your spring garden. Starting seeds indoors allows plants to establish strong roots before being transplanted outdoors when the weather warms up.
Vegetables to Start Indoors in February
✅ Tomatoes – Start these 6-8 weeks before the last frost. They need warm soil (70-80°F) and bright light.
✅ Peppers (Bell, Jalapeño, Cayenne, etc.) – Peppers take a long time to grow, so starting early helps. Keep soil warm (75-85°F) for best germination.
✅ Eggplant – Needs 8-10 weeks indoors before transplanting. Prefers warm temperatures.
✅ Lettuce & Leafy Greens (Spinach, Swiss Chard, Kale) – These germinate quickly and can be transplanted outdoors as soon as soil is workable.
✅ Broccoli, Cauliflower, Cabbage, Brussels Sprouts – Cold-hardy crops that should be started 6-8 weeks before transplanting.
✅ Onions (from seeds) – Start early to give them time to grow before transplanting in early spring.
✅ Herbs (Basil, Parsley, Thyme, Oregano, Chives, Dill) – Many herbs grow slowly and benefit from an early start indoors.
Flowers to Start Indoors in February
🌸 Marigolds – Great for companion planting and pest control.
🌸 Zinnias – Need warmth but will reward you with vibrant blooms.
🌸 Snapdragons – Cool-season flowers that take longer to establish.
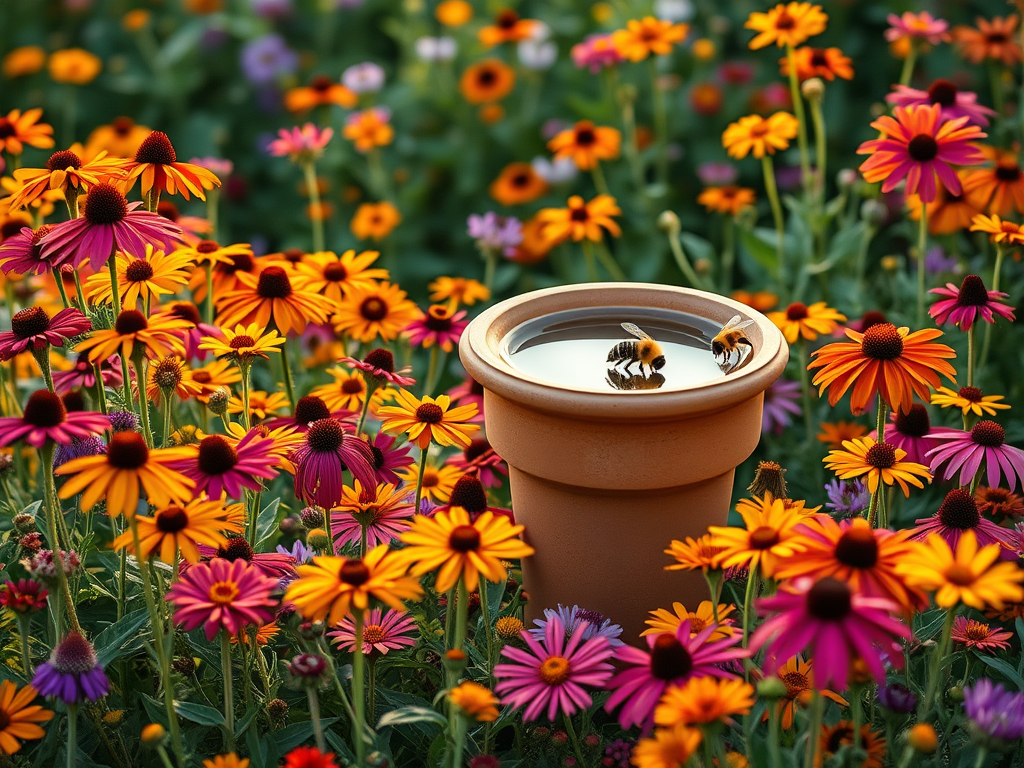
🌸 Echinacea (Coneflower) – Perennial that benefits from an early start.
🌸 Lupine & Delphinium – Perennials that need stratification (cold treatment) before sprouting.
How to Start Seeds Indoors
🌱 1. Choose the Right Containers
- Use seed trays, peat pots, or any shallow containers with drainage holes.
🌱 2. Use High-Quality Seed-Starting Mix
- Regular garden soil is too heavy—use a light, well-draining mix.
🌱 3. Plant Seeds at the Right Depth
- Check the seed packet for the recommended depth. Most small seeds just need a light covering of soil.
🌱 4. Keep Soil Moist but Not Soggy
- Mist with water daily or use a humidity dome to retain moisture.
🌱 5. Provide Warmth for Germination
- Most seeds germinate best at 65-75°F. Use a seedling heat mat for warmth-loving plants like tomatoes and peppers.
🌱 6. Provide 12-16 Hours of Light
- Place under grow lights or near a sunny window. Without enough light, seedlings get leggy.
🌱 7. Thin Out Seedlings
- Once they sprout, snip weaker seedlings at the base to allow the strongest to thrive.
🌱 8. Harden Off Before Transplanting
- About 1-2 weeks before moving outdoors, gradually introduce seedlings to outdoor conditions by placing them outside for a few hours each day.
February is an exciting time to kick off the growing season! 🌱✨ What are you planning to start indoors this month?