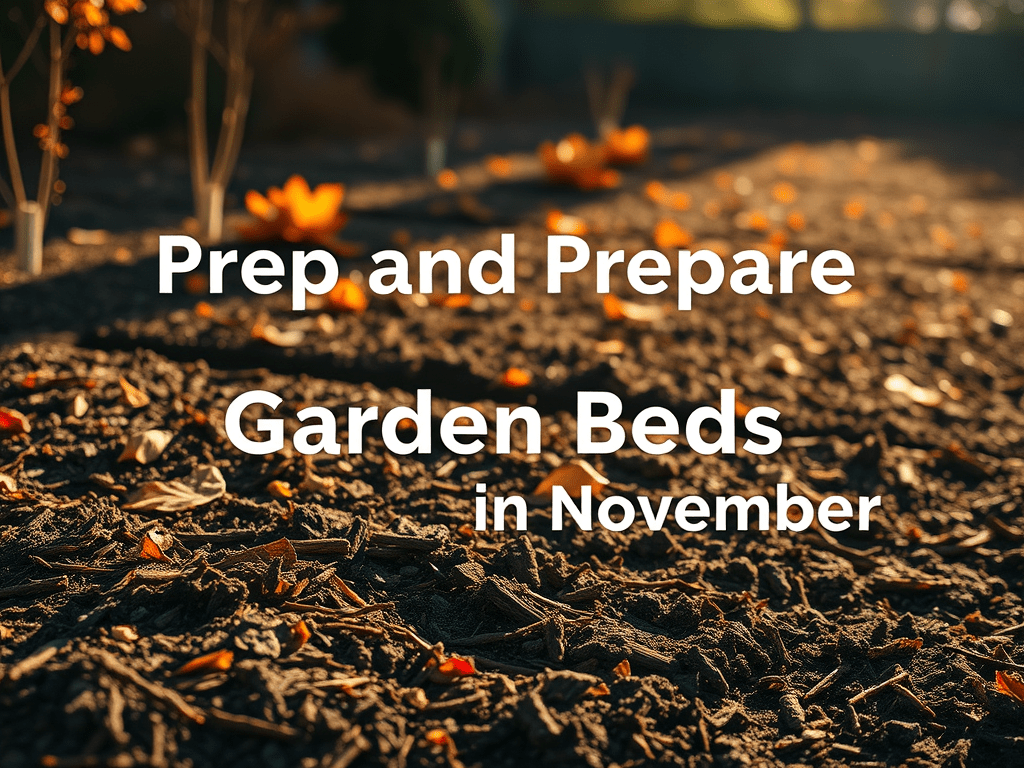
Growing Winter Herbs Indoors: A Guide to Cultivating Fresh Flavors Year-Round

Winter doesn’t have to mean the end of your herb garden! Bringing herbs indoors is a great way to enjoy fresh, flavorful ingredients all year long. With the right care, your windowsills or countertops can flourish with greenery even during the colder months. Today, let’s talk about how to grow some of the best winter herbs indoors: thyme, rosemary, sage, mint, echinacea, lemon balm, lavender, and basil.

1. Thyme

Thyme is a versatile herb, adding its earthy flavor to soups, stews, and roasted veggies. It’s also easy to grow indoors, thriving in well-draining soil and bright light.

  • Light: Thyme loves full sun, so place it near a south-facing window.
  • Water: Water sparingly, allowing the soil to dry out between waterings.
  • Tip: Trim back regularly to encourage bushy growth and prevent it from becoming leggy.

2. Rosemary

Rosemary is perfect for winter. Its strong aroma and sturdy leaves add a burst of freshness to meats and potatoes, but it can be tricky to grow indoors.

  • Light: This herb craves 6-8 hours of sunlight per day, so a sunny window is essential.
  • Water: Rosemary prefers drier conditions. Overwatering can lead to root rot, so let the soil dry out before watering.
  • Tip: Consider rotating your rosemary to ensure even light exposure for a healthier plant.

3. Sage

Sage’s savory flavor complements holiday dishes like stuffing, but it’s also a stunning herb to keep in your indoor garden with its soft, silvery leaves.

  • Light: Like rosemary, sage requires bright sunlight—aim for at least 6 hours a day.
  • Water: Water when the top inch of soil is dry. Be careful not to overwater.
  • Tip: Sage can become leggy indoors, so prune it regularly to encourage a fuller shape.

4. Mint

Mint is a fast-growing herb that brings freshness to everything from teas to desserts. It’s also one of the easiest herbs to grow indoors, making it perfect for winter cultivation.

  • Light: Mint does well in moderate sunlight, so it’s more forgiving than other herbs.
  • Water: Keep the soil moist but not waterlogged. Mint likes damp conditions.
  • Tip: Grow mint in its own container as it can spread rapidly and overtake other plants.

5. Echinacea

Known for its immune-boosting properties, echinacea is a beautiful and useful herb to grow during winter.

  • Light: Echinacea needs at least 4 hours of bright, indirect sunlight each day.
  • Water: Water when the top of the soil feels dry, and ensure good drainage.
  • Tip: This herb can be slow to grow indoors, so patience is key. Once established, it will provide a lovely pop of color and medicinal benefits.

6. Lemon Balm

Lemon balm is a delightful herb with a citrusy fragrance that can lift your mood during the winter blues. It’s also great for teas and calming remedies.

  • Light: Lemon balm prefers bright, indirect light.
  • Water: Keep the soil evenly moist, but don’t let it get soggy.
  • Tip: Regular pruning helps to prevent legginess and keeps the plant looking lush.

7. Lavender

Lavender adds a calming scent to your home and can be used in everything from baked goods to bath products. While it thrives outdoors, with a little attention, it can be grown indoors, too.

  • Light: Lavender requires a lot of sunlight—aim for 6-8 hours a day.
  • Water: Allow the soil to dry out between waterings to avoid root rot.
  • Tip: Lavender prefers a slightly cooler room, so keeping it away from heaters will help it thrive.

8. Basil

Basil is a must-have for any indoor herb garden, especially during winter, when its vibrant green leaves and signature flavor can brighten up any meal.

  • Light: Basil needs around 6 hours of sunlight a day, so place it in a sunny spot.
  • Water: Keep the soil consistently moist but not soaked.
  • Tip: Pinch back the tops regularly to encourage new growth and prevent the plant from flowering, which can reduce its flavor.

General Tips for Indoor Herb Gardening

  • Soil: Use a well-draining potting mix specifically formulated for herbs. You can add perlite or coarse sand to ensure proper drainage.
  • Pots: Choose pots with drainage holes to prevent root rot. Self-watering pots can also be a good option for busy gardeners.
  • Humidity: Winter air can be dry, especially indoors. Mist your herbs or place a tray of water nearby to increase humidity.
  • Fertilizer: Herbs don’t need a lot of feeding during the winter, but a light application of a balanced, water-soluble fertilizer once a month can help keep them healthy.

By growing these herbs indoors, you’ll enjoy fresh flavors, delightful fragrances, and a touch of greenery in your home even on the coldest days. Happy gardening!

Bulbosa Air Plant Care: A Guide to this Unique Beauty

Air plants, or Tillandsia, have become popular for their versatility and ease of care. One standout among the air plants is Tillandsia bulbosa, an exotic and fascinating species that’s often admired for its alien-like tendrils and vibrant green hue. But how do you care for this striking plant? Let’s dive into the essentials, including its blooming habits and how to propagate it.

Appearance

Tillandsia bulbosa has a distinctive appearance that sets it apart from other air plants. Its long, tubular leaves twist and curl in unpredictable directions, giving it an almost whimsical look. This plant can reach up to 8 inches in height and prefers indirect light, making it an ideal addition to any indoor space or terrarium.

Care Tips

Caring for a bulbosa air plant isn’t difficult, but it does require attention to a few key factors:

1. Light

Bulbosa air plants thrive in bright, indirect light. A spot near a window with filtered sunlight is ideal. Avoid placing it in direct sunlight for long periods, as this can cause the plant to dry out and scorch.

2. Watering

The bulbosa plant prefers a bit more moisture than some of its air plant cousins, thanks to its native tropical habitat. Here’s how to water your bulbosa air plant properly:

  • Soak the plant in room-temperature water for 15-20 minutes about once a week.
  • If your climate is particularly dry, you might want to mist it lightly every few days.
  • Make sure to shake off any excess water after soaking, as stagnant water can lead to rot. Allow it to dry upside down or in a place with good air circulation.

3. Humidity

This air plant enjoys humidity, so if you live in a dry environment, consider placing your bulbosa near a humidifier or misting it regularly. Humid bathrooms can also be a great spot for these plants.

4. Temperature

Bulbosa air plants thrive in temperatures between 50-90°F (10-32°C). Avoid exposing them to frost or freezing temperatures, as this can damage the plant.

5. Fertilization

While not essential, feeding your air plant with a bromeliad or air plant fertilizer once a month during its growing season (spring to summer) can encourage growth and flowering.

Does Bulbosa Air Plant Bloom?

Yes! One of the most exciting aspects of the Tillandsia bulbosa is that it does bloom. When it’s mature, the bulbosa will produce a stunning red or purple flower spike, often accompanied by bright violet or blue flowers. This bloom is a spectacular display, though it only happens once in the plant’s lifetime. After flowering, the plant will slowly begin to die, but this doesn’t mean the end!

Propagation

Once the bloom cycle is complete, your bulbosa air plant will start producing offsets, also known as “pups.” These baby plants grow at the base of the mother plant. You can either leave the pups attached to create a larger cluster or gently separate them once they are about one-third the size of the mother plant.

To propagate:

  1. Carefully twist the pup away from the mother plant, ensuring it comes off cleanly without damaging either.
  2. Care for the pup in the same way you care for the adult plant. With time, it will mature and may eventually bloom on its own.

Displaying Your Bulbosa

Thanks to its quirky shape, Tillandsia bulbosa can be displayed in a variety of creative ways. It looks great perched on driftwood, nestled in a glass terrarium, or mounted on a decorative surface. Just ensure it has good air circulation.

Conclusion

The Tillandsia bulbosa is a beautiful and intriguing air plant that rewards you with minimal care and an eventual bloom. Whether you’re a seasoned plant enthusiast or new to air plants, this species is sure to bring an exotic touch to your collection. With its striking appearance and easy-to-follow care routine, the bulbosa will thrive in your home—and when it does bloom, you’ll be treated to a rare and vibrant spectacle!

Happy planting!

3 Easy-Care Succulents to Have This Fall 🍂

As the days get shorter and the air grows crisper, bringing in low-maintenance greenery is a fantastic way to keep your indoor space vibrant. Succulents are perfect for fall because they thrive with minimal care and add a warm, earthy charm. Here are three easy-care succulents that make ideal fall companions for your home.

1. Jade Plant (Crassula ovata)

  • Why It’s Great for Fall: Jade plants add lush, deep green hues to any room, and their thick, glossy leaves reflect autumn’s richness.
  • Care Tips: Jade plants need bright, indirect light, but they can tolerate a few hours of direct sunlight too. They’re perfect near a sunny window. Water sparingly—once every 2-3 weeks is plenty in the cooler months. Let the soil dry out completely between waterings to avoid root rot.
  • Bonus: Jade plants are believed to bring good luck and prosperity, adding a touch of positive energy as the season changes.

2. Snake Plant (Sansevieria trifasciata)

  • Why It’s Great for Fall: Known for its upright, sword-like leaves, the snake plant brings a bold statement to any space with minimal effort.
  • Care Tips: Snake plants are nearly indestructible! They thrive in low light, though they do appreciate some bright, indirect light for a bit of extra growth. Water them once every 2-6 weeks during fall and winter; these plants are drought-resistant and tolerate neglect well.
  • Bonus: Snake plants are amazing air purifiers, making them great indoor companions during closed-window season.

3. Burro’s Tail (Sedum morganianum)

  • Why It’s Great for Fall: With trailing, blue-green leaves, Burro’s Tail offers a unique look that’s especially stunning in hanging baskets or on shelves where it can cascade down.
  • Care Tips: Burro’s Tail needs bright, indirect sunlight and well-draining soil. Water once every two weeks or so, letting the soil dry between waterings. Handle with care, as its delicate leaves are easily knocked off.
  • Bonus: This beauty has a quirky charm and can live happily indoors year-round, so you’ll enjoy its vibe well beyond fall.

Tips for Keeping Succulents Happy Indoors

  • Use a Cactus or Succulent Mix: Regular potting soil can retain too much moisture, leading to root rot. Succulent-specific soil provides the quick drainage they need.
  • Rotate Regularly: Rotate your plants every few weeks so each side gets even light exposure, helping them grow evenly.
  • Let in Some Light: Even though succulents adapt well indoors, they still crave sunlight. Keep them near a bright window for the best results.

Bringing these succulents into your home this fall not only livens up your space but also makes plant care simple and rewarding. Enjoy the cozy vibes they bring to your seasonal décor!

October Gardening Guide

Embrace the Fall Foliage and Prepare for Winter

As the crisp air of October settles in, it’s time to embrace the beauty of fall in your garden. With the changing leaves and cooler temperatures, this month offers a unique opportunity to prepare your garden for the winter months ahead while enjoying the vibrant colors of autumn. Here’s a guide to help you make the most of your garden this October.

  1. Planting for Spring Blooms
    Now is the ideal time to plant spring-flowering bulbs such as tulips, daffodils, and hyacinths. Make sure to plant them at the appropriate depth, usually two to three times the height of the bulb. Adding some bone meal to the planting hole can encourage healthy root development.
  2. Autumn Cleanup
    As leaves begin to fall, it’s essential to tidy up your garden. Rake up leaves to prevent disease and pests from overwintering. Compost the leaves if they are disease-free, or use them as mulch to enrich your garden beds. Remove any spent annuals and perennials that have finished blooming.
  3. Preparing Garden Beds
    Now is the time to amend your garden beds with compost or well-rotted manure. This will help improve soil structure and fertility for the next growing season. If you’re planning to plant a cover crop like clover or rye, sow those seeds this month to enhance soil health over the winter.
  4. Protecting Tender Plants
    If you have tender perennials or tropical plants, consider bringing them indoors or providing protection against frost. Mulch around the base of plants that will remain outside to insulate their roots.
  5. Harvest Time
    October is peak harvest season for many fruits and vegetables. Check your garden for ripe tomatoes, squash, and peppers. Don’t forget about your herbs! Harvest and dry or freeze any that you can’t use immediately. This is also a great time to collect seeds from your favorite plants for next year’s garden.
  6. Fall Gardening Projects
    Consider taking on some DIY projects this fall. Build raised beds, create new pathways with mulch or gravel, or start a compost bin if you don’t have one yet. You could also try your hand at creating decorative elements for your garden, such as scarecrows or seasonal planters.
  7. Winterizing Your Garden
    Prepare your garden for winter by covering perennials that are prone to frost damage with mulch. For garden tools, clean and oil them before storing them away for the season to extend their life.
  8. Get Inspired
    As the gardening season winds down, take some time to enjoy the fall colors. Visit local gardens, arboretums, or parks to gather inspiration for next year’s planting. Capture photos of the stunning autumn foliage and use them as motivation to plan your spring garden.

In conclusion October is a month of transition in the garden, filled with opportunities to reflect on the growing season while preparing for the months ahead. By following these tips, you can ensure that your garden remains healthy and vibrant, ready to burst into life when spring arrives. Embrace the beauty of fall, and don’t forget to enjoy a warm cup of cider while you work!

Happy Gardening!

Build Your Own Botanical Garden: Top 8 Stylish Lego Plant Sets

Lego has introduced several plant-themed sets that are popular with both Lego enthusiasts and plant lovers. I am a huge plant addict and my family gave me several of these beautiful Lego plants to start a collection. I wanted to share a few that are my favorite.

1. Lego Botanical Collection – Flower Bouquet (10280)

  • Details: This set allows you to build a stunning flower bouquet, complete with a variety of flowers like roses, daisies, and poppies.
  • Why it’s great: It’s a beautiful display piece that looks like real flowers but never wilts. Perfect for decorating shelves or desks.

2. Lego Bonsai Tree (10281)

  • Details: A detailed bonsai tree that includes options to customize it with green leaves or cherry blossoms.
  • Why it’s great: The aesthetic appeal of bonsai trees with the fun of building Lego. It’s a relaxing build that can be displayed as a zen-like decorative piece.

3. Lego Succulents (10309)

  • Details: This set features nine unique succulents in their own small pots, which can be arranged together or separately.
  • Why it’s great: Succulents are trendy in home decor, and this set mimics the stylish look of real succulents with no need for maintenance.

4. Lego Orchid (10311)

  • Details: A realistic-looking Lego orchid complete with white and pink blooms, stems, and a pot.
  • Why it’s great: Orchids are a symbol of elegance, and this set brings that touch to your space without the need to care for a delicate plant.

5. Lego Bird of Paradise (10289)

  • Details: A replica of the Bird of Paradise plant, known for its striking and exotic flowers.
  • Why it’s great: It’s an exotic, showy piece for plant lovers that looks great in any room.

6. Lego Roses (40460)

  • Details: This small set focuses on a pair of blooming red roses.
  • Why it’s great: A simple yet charming addition to any Lego flower display, or as a stand-alone gift.

7. Lego Tulips (40461)

  • Details: Three tulips in yellow, white, and purple colors.
  • Why it’s great: A lovely, minimalistic plant display that can also complement other Lego Botanical sets.

8. Lego Sunflowers (40524)

  • Details: Two bright and cheerful sunflowers.
  • Why it’s great: Adds a touch of sunshine and warmth to your Lego Botanical collection or home decor.

These Lego plant sets are wonderful for adding greenery and beauty to any space without the hassle of maintenance.

Let me know in the comments if you have any of these displayed in your home!

Home is Where the Boat Is

Potting, Puttering & Pontooning

Cats and Trails and Garden Tales

Musings on cats, travel, gardens and life

Leaf And Twig

Where observation and imagination meet nature in poetry.

phillipsplace

A new beginning, mobile home living, adding our style inside and out.

Ruth E. Hendricks

Daily Journal of Life in Pittsburgh

The Haute Mommy Handbook

Motherhood Misadventures + Creative Living

Suzanne's Mom's Blog

Arts, Nature, Good Works, Luna & Stella Lockets & Birthstones

𝑻𝒐𝒓𝒏𝒂𝒅𝒐 𝑶𝒇 𝑪𝒉𝒂𝒐𝒔 🌪

Thoughts, experiences and learnings in a turbulent time

Sarah Rajkotwala - Author & Spiritual Teacher blog

Gardening Fairies Flowers Spirituality Angels Love Joy

Ideas and Advice for How To Live a Joyful and Empowered Life.

All Things Empowering - Healing Ourselves & Earth, Self-Sufficiency, Food Forests, Gardening, Art, Road Trips, Preserving, Foraging, Permaculture, Homesteading and More!

AmericaOnCoffee

We’re just inviting you to take a timeout into the rhythmic ambiance of our breakfast, brunch and/or coffee selections. We are happy whenever you stop by.

Heart to Hearth Cookery

Sharing my Experimental Archaeology of Food

The Herb Society of America Blog

Learn • Explore • Grow