Are you ready to take your gardening creativity to the next level? I’m thrilled to share some exciting news with you all! If you’ve been looking for a treasure trove of inspiration for all things gardening, from beautiful blooms to whimsical fairy gardens, you’re in luck. I’ve curated a Pinterest board just for you, filled with ideas and inspiration to ignite your green thumb.
What You’ll Find on My Gardening Pinterest Board:
- Beautiful Flowers: Discover breathtaking blooms to add color and life to your garden. From classic roses to vibrant wildflowers, there’s something for every floral enthusiast.
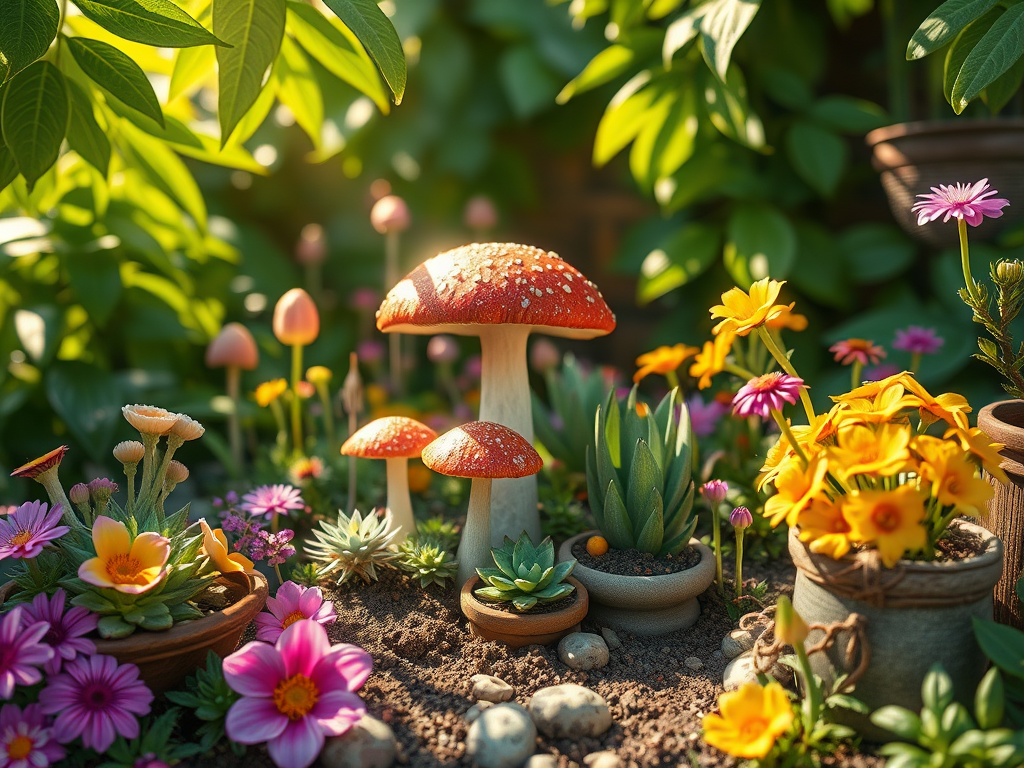
- Edible Mushrooms: Whether you’re growing them or just dreaming of a mushroom-themed garden corner, you’ll find plenty of creative ideas to incorporate these tasty fungi into your gardening adventures.
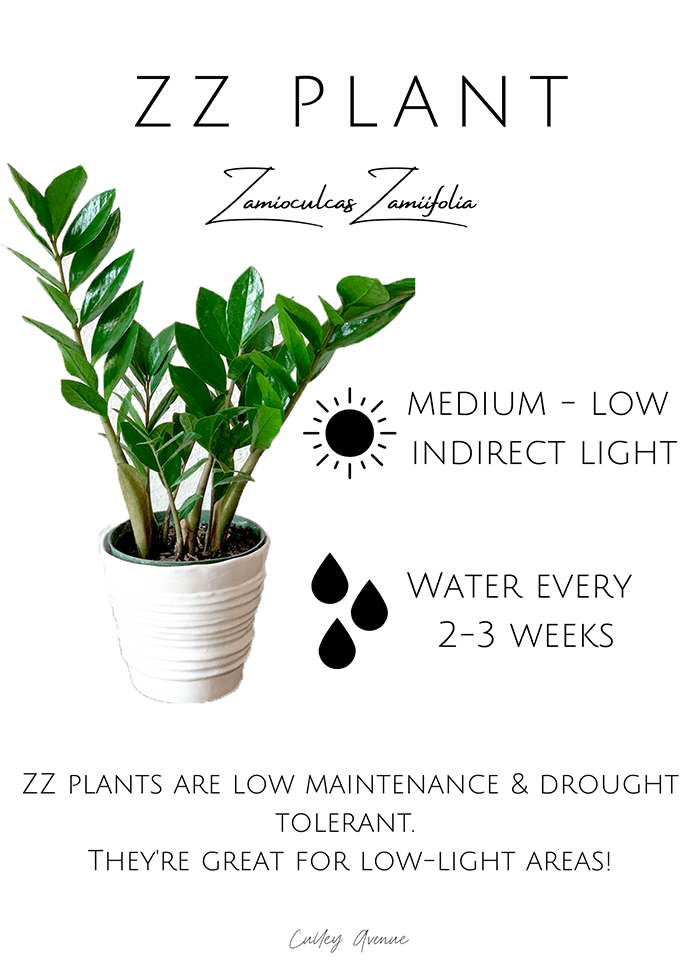
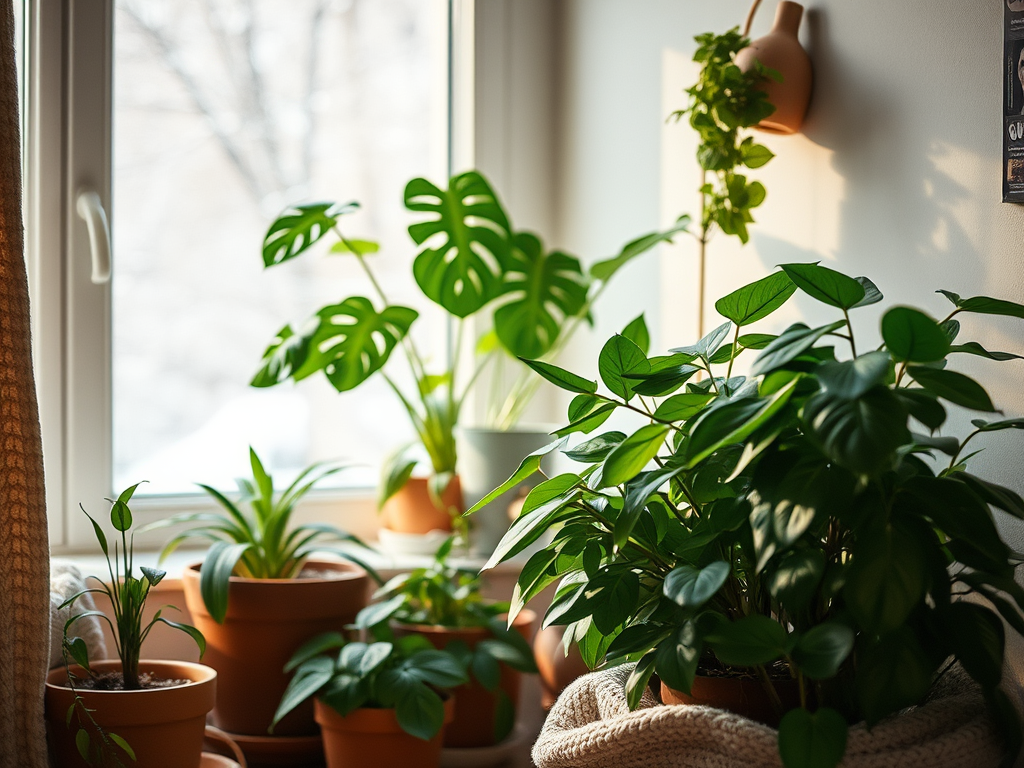
- Houseplants: From care tips to stunning display ideas, this board celebrates the joy of bringing greenery into your home.
- Potpourri Ideas: Learn how to create fragrant and natural potpourri using flowers and herbs from your garden. It’s a beautiful way to preserve your harvest.
- Fairy Gardens: Dive into the magical world of fairy gardens, where miniature landscapes come to life with tiny plants, accessories, and a touch of imagination.
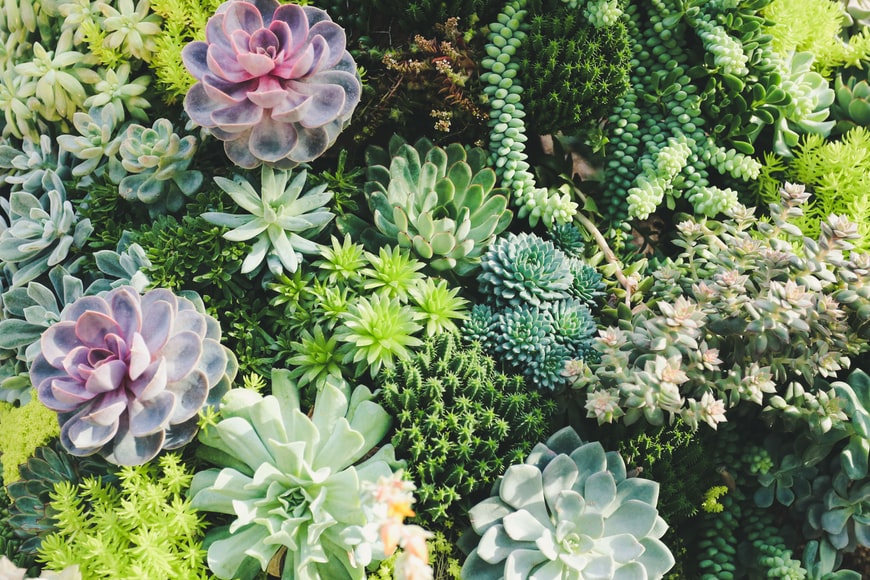
- Succulents & Air Plants: For lovers of low-maintenance plants, explore creative ways to showcase succulents and air plants in your home and garden.
- Garden Containers: Get inspired by unique and stylish container gardening ideas that make it easy to grow plants anywhere, no matter how small your space is.
- Herb Tea Gardens: Design your very own herb tea garden! This board has ideas for growing and harvesting herbs perfect for your favorite tea blends.
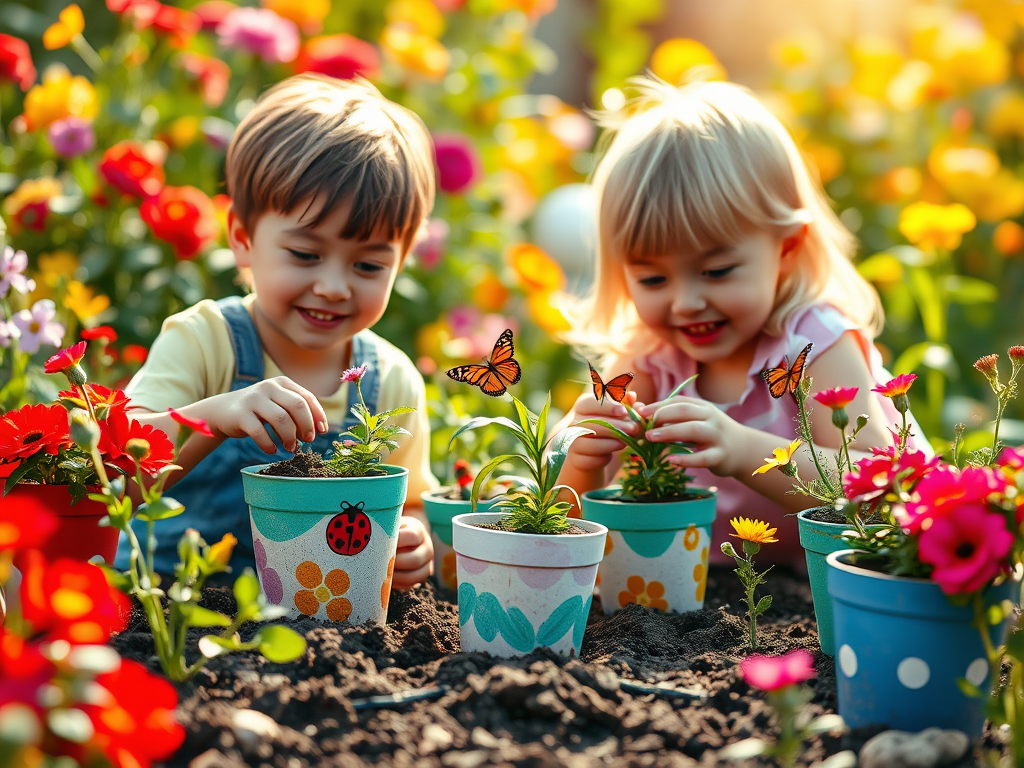
- Butterfly Gardens: Create a haven for pollinators with ideas for planting butterfly-friendly flowers and creating a vibrant, eco-friendly garden.
Why Follow My Pinterest Board?
Pinterest is the perfect place to find gardening ideas that suit your style and needs. With this board, I’ve made it easy for you to:
- Save ideas for your next gardening project.
- Discover unique ways to enhance your indoor and outdoor spaces.
- Learn tips and tricks to make gardening fun and rewarding.
- Share your favorite pins with friends and family who love gardening too!
How to Join the Fun:
Head over to my Pinterest board: https://pin.it/4y90jT1oU and follow my Gardening Inspiration board. Don’t forget to repin your favorite ideas and share your creations with me on social media! Tag me in your Facebook posts and use the hashtag #printhousedesign1.0 so I can see your beautiful work.
Let’s make gardening an adventure together! I can’t wait to hear what inspires you the most and see how you bring these ideas to life. Happy pinning and happy gardening!