Embrace the Fall Foliage and Prepare for Winter
As the crisp air of October settles in, it’s time to embrace the beauty of fall in your garden. With the changing leaves and cooler temperatures, this month offers a unique opportunity to prepare your garden for the winter months ahead while enjoying the vibrant colors of autumn. Here’s a guide to help you make the most of your garden this October.
- Planting for Spring Blooms
Now is the ideal time to plant spring-flowering bulbs such as tulips, daffodils, and hyacinths. Make sure to plant them at the appropriate depth, usually two to three times the height of the bulb. Adding some bone meal to the planting hole can encourage healthy root development. - Autumn Cleanup
As leaves begin to fall, it’s essential to tidy up your garden. Rake up leaves to prevent disease and pests from overwintering. Compost the leaves if they are disease-free, or use them as mulch to enrich your garden beds. Remove any spent annuals and perennials that have finished blooming. - Preparing Garden Beds
Now is the time to amend your garden beds with compost or well-rotted manure. This will help improve soil structure and fertility for the next growing season. If you’re planning to plant a cover crop like clover or rye, sow those seeds this month to enhance soil health over the winter. - Protecting Tender Plants
If you have tender perennials or tropical plants, consider bringing them indoors or providing protection against frost. Mulch around the base of plants that will remain outside to insulate their roots. - Harvest Time
October is peak harvest season for many fruits and vegetables. Check your garden for ripe tomatoes, squash, and peppers. Don’t forget about your herbs! Harvest and dry or freeze any that you can’t use immediately. This is also a great time to collect seeds from your favorite plants for next year’s garden. - Fall Gardening Projects
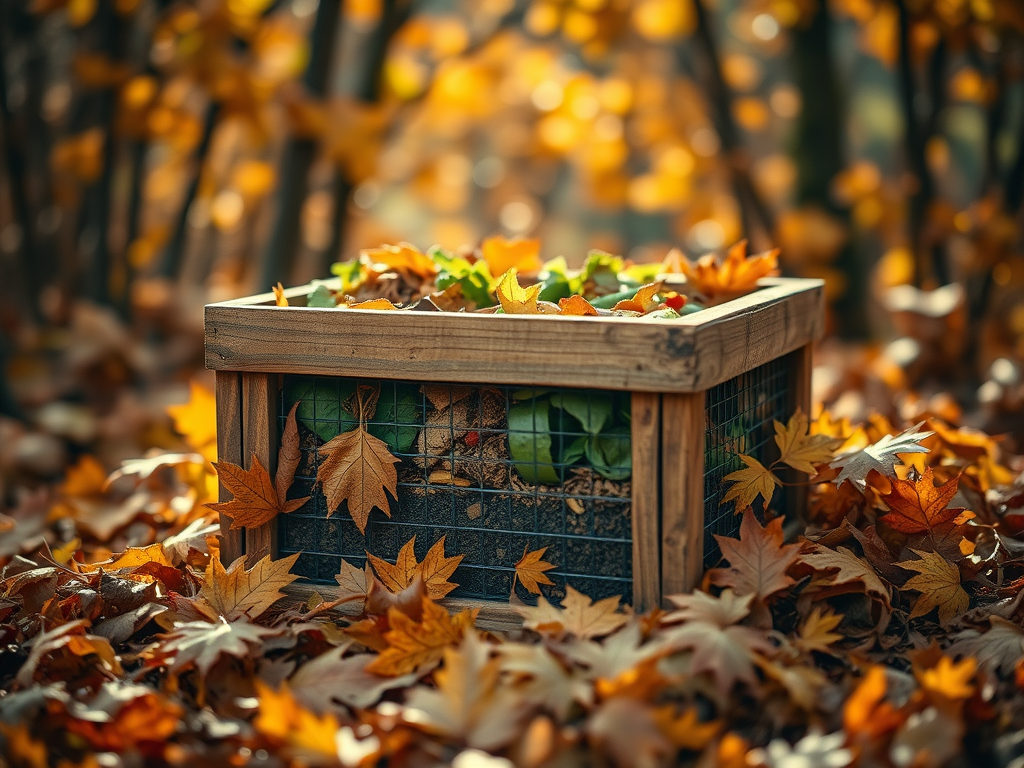
Consider taking on some DIY projects this fall. Build raised beds, create new pathways with mulch or gravel, or start a compost bin if you don’t have one yet. You could also try your hand at creating decorative elements for your garden, such as scarecrows or seasonal planters. - Winterizing Your Garden
Prepare your garden for winter by covering perennials that are prone to frost damage with mulch. For garden tools, clean and oil them before storing them away for the season to extend their life. - Get Inspired
As the gardening season winds down, take some time to enjoy the fall colors. Visit local gardens, arboretums, or parks to gather inspiration for next year’s planting. Capture photos of the stunning autumn foliage and use them as motivation to plan your spring garden.
In conclusion October is a month of transition in the garden, filled with opportunities to reflect on the growing season while preparing for the months ahead. By following these tips, you can ensure that your garden remains healthy and vibrant, ready to burst into life when spring arrives. Embrace the beauty of fall, and don’t forget to enjoy a warm cup of cider while you work!
Happy Gardening!