Dreamy Aesthetic taking over the internet known as Cottagecore. Cottagecore (also known as Farmcore and Countrycore) is a cultural movement drawing inspiration from the rural lifestyle and the local artisans’ skills and crafts, rising fast on social media. Nowadays, cottagecore is everywhere on social media, from Instagram to Pinterest and a glimpse of it in our Etsy shop: Printhousedesign1.
Our homes should be our personal getaways — and the last year made this abundantly clear. As a result, some of us turned closets into office hideouts (aptly named “cloffices”), transformed garages into home gyms or into a craft room. At the heart of these transformations — from minor DIYs to big rebuilds — is the very idea that our homes should be a safe, cozy and inviting space that provides a respite from the outside world.
There’s no finer example of this feeling — aesthetic, rather — than cottagecore, where the ease of rural life is brought to life with fresh florals, botanical accents and vintage-inspired decor. Cottagecore embraces the charm of the English countryside (hence its name), creating an idealized representation of farm life — no matter where in the world you may live. The cottagecore style extends far beyond home decor; it’s inspired an overall state of being, often expressed through jewelry or clothes.
How can I bring the cottagecore aesthetic into my house?
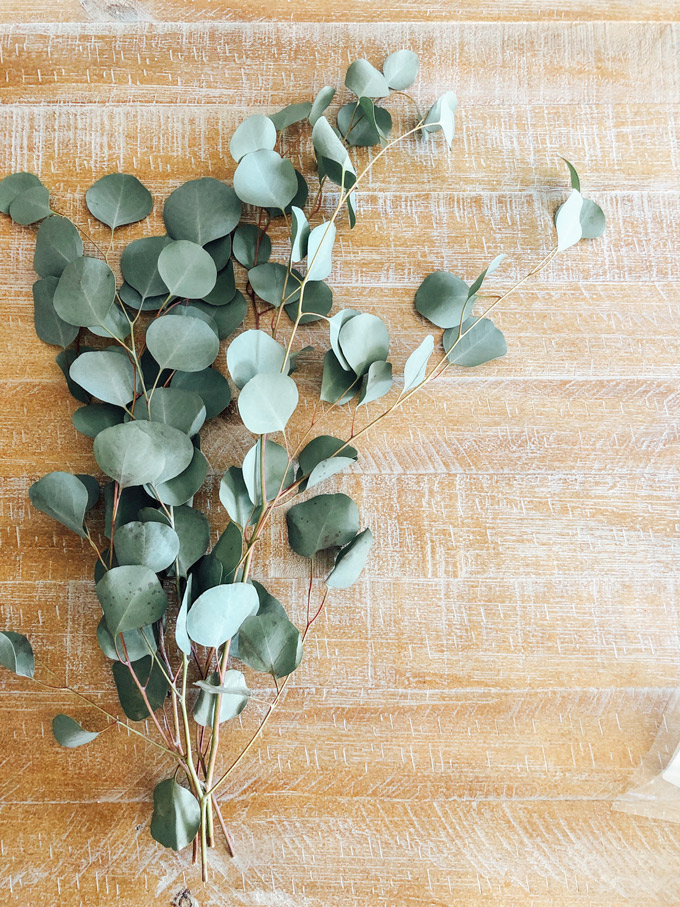
Styles may range from person to person (or house to house), but the cottagecore aesthetic has several constants: Along with a neutral color palette (whites, creams and warm tones), key decor pieces include dried flower bouquets, indoor plants from artificial to real plants, mushroom trinkets and string lights. Everything — both the fashion and home decor has a vintage look and feel.
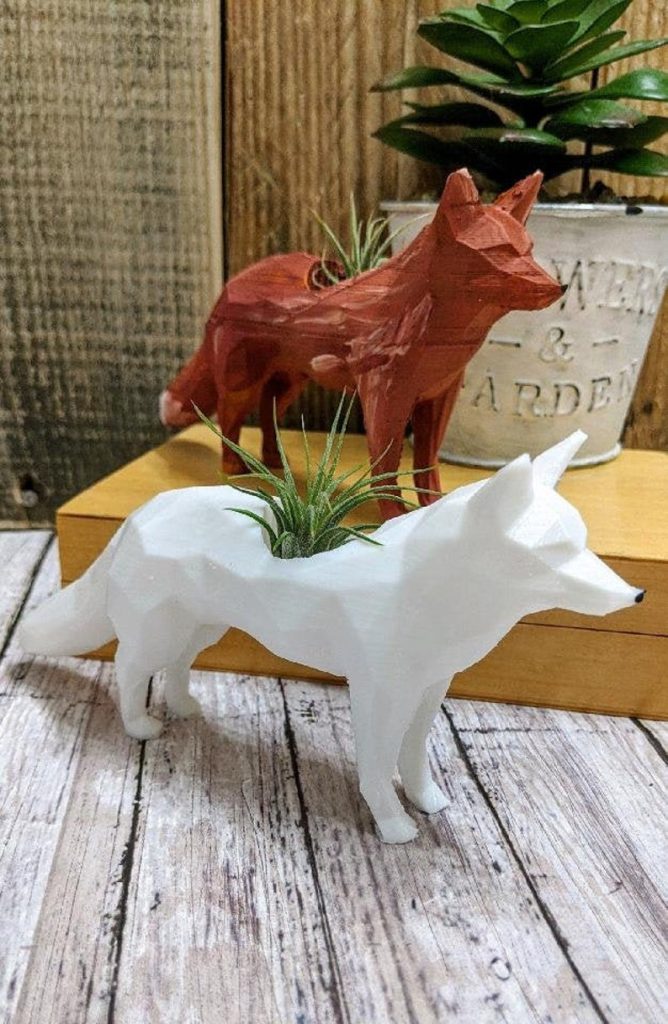
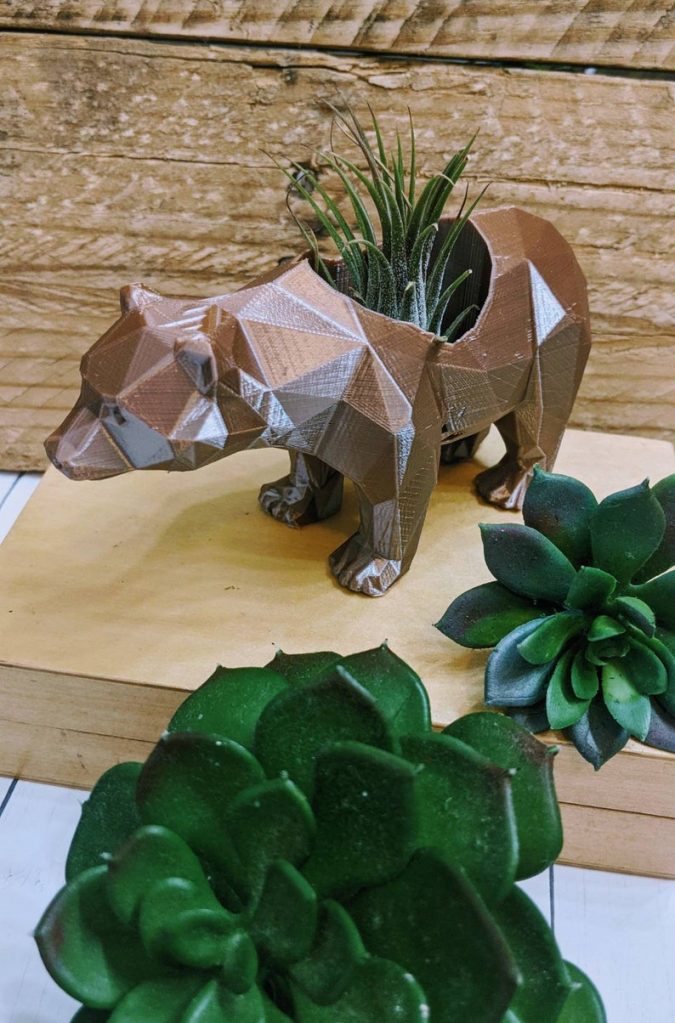
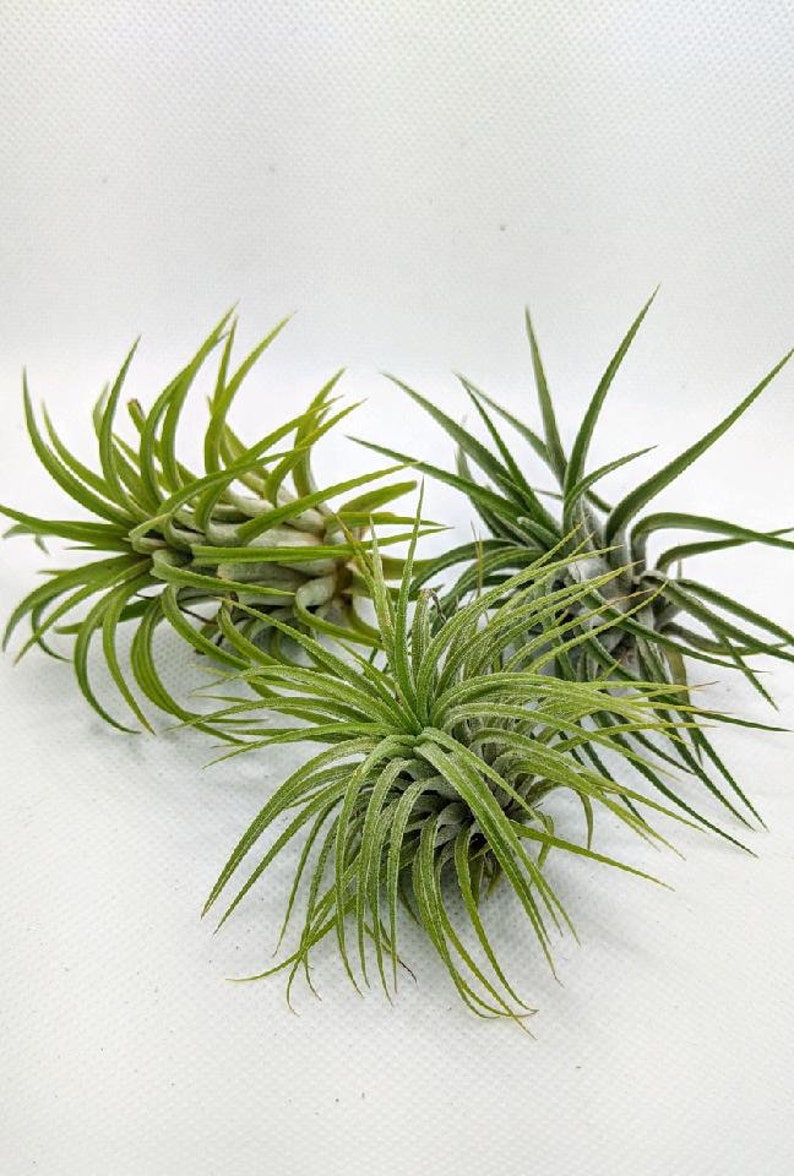
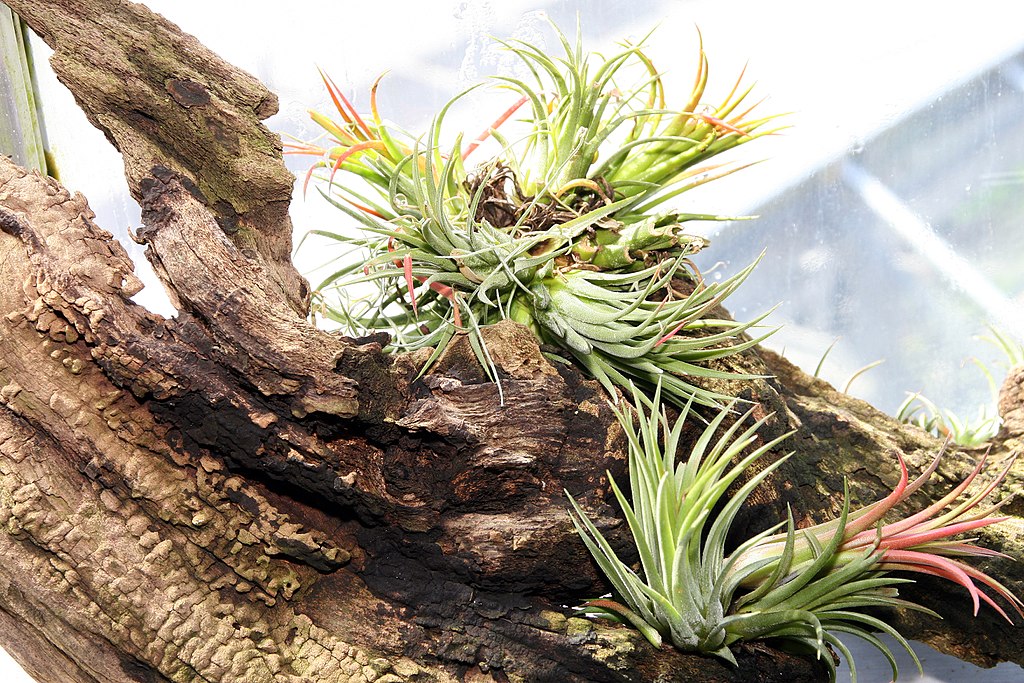
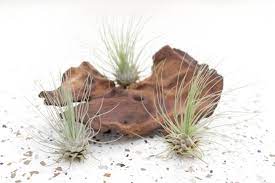
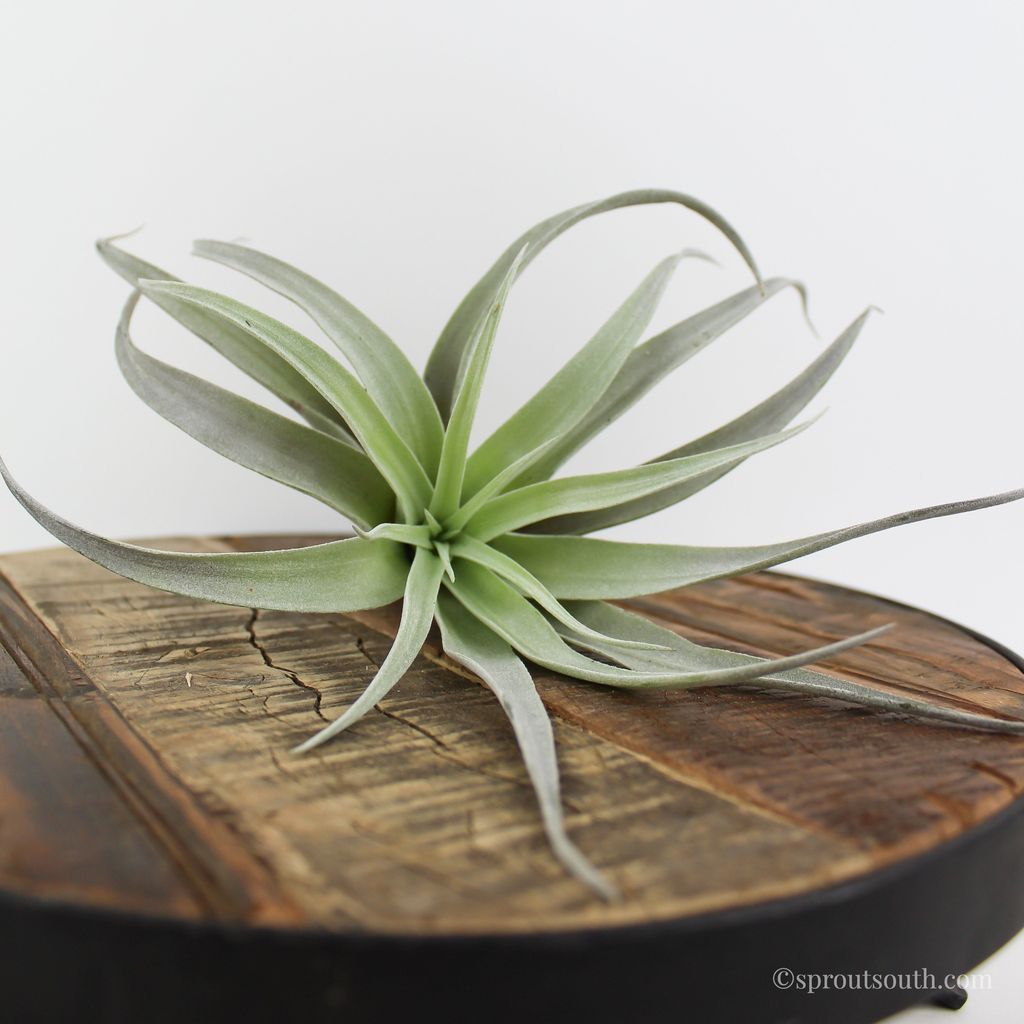
Our Etsy shop www. Printhousedesign.com offers cottagecore decor such as woodland aniamls; foxes, bears, owls, hedgehogs. Also you can find rose petal twinkle lights to bring a simple garden look. If you love plants the shop offers artificial succulents to real live air plants. To style your wardrobe with a little cottagecore flare, you can find beautiful pressed flowers and crystal earrings to choose from. In addition you can find bee inspired necklaces to wear any day at Gardenocity on Depop.
Simply put, the concept of Cottagecore reflects the desire to live a quiet and nature-inspired life, away from technology, big city streets, and other modern types of stress-inducing activities while adding a piece to your everyday look.