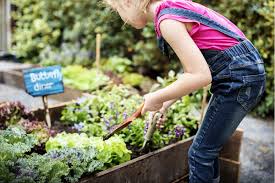
Your toddler will find lots of things to explore in the garden, and if you are prepared with a few toddler gardening activities, you can enhance his or her experience. Gardening with toddlers is a healthy way for parents and children to enjoy the outdoors together.
Theme Gardens for toddlers should center on their five senses. Choose textured plants that they can feel and sensitive plants that snap shut when touched. Fragrant herbs appeal to a child’s sense of taste and smell. Honeysuckle is very fragrant, and if you catch the flowers at just the right time, you can squeeze a drop of sweet nectar onto the child’s tongue. There is no end to the variety of bright-colored flowers that are a delight to look at, and toddlers enjoy them even more if they can pick a few to enjoy indoors. Ornamental grasses that rustle in the breeze are plants that toddlers can hear. Consider toddler garden design ideas that involve several aspects of nature. Ladybugs and butterflies are a delight to little ones.
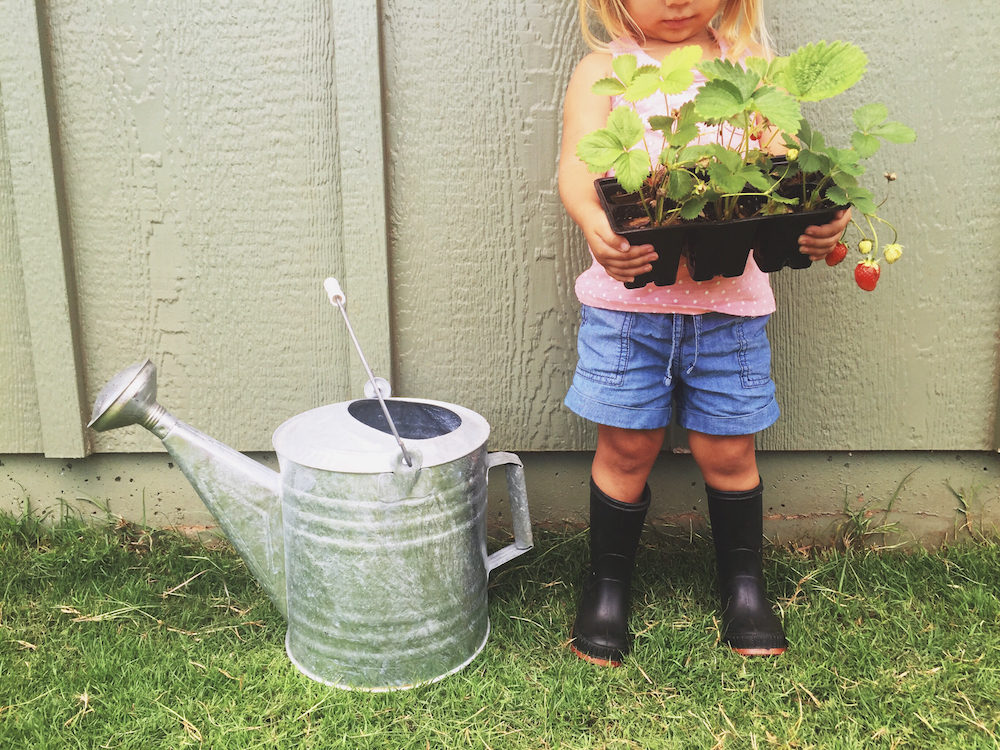
Creating the garden with your little one…
Let your child dig and scratch in the garden with small plastic garden tools. Large kitchen spoons and measuring cups make great toddler tools. Talk to your toddler about earthworms as “garden helpers.” Little ones that like to get dirty will enjoy digging for worms. Place a worm in his or her hand to hold for a few minutes. Let your toddler move small ornaments, such as pinwheels, around the garden. Help your toddler pick flowers and place them in a vase of water. Let him or her help add water to the vase as necessary. Show your toddler how to water the garden with a small, plastic watering can.
This can be a fun and learning lesson throughout the spring, summer, & fall