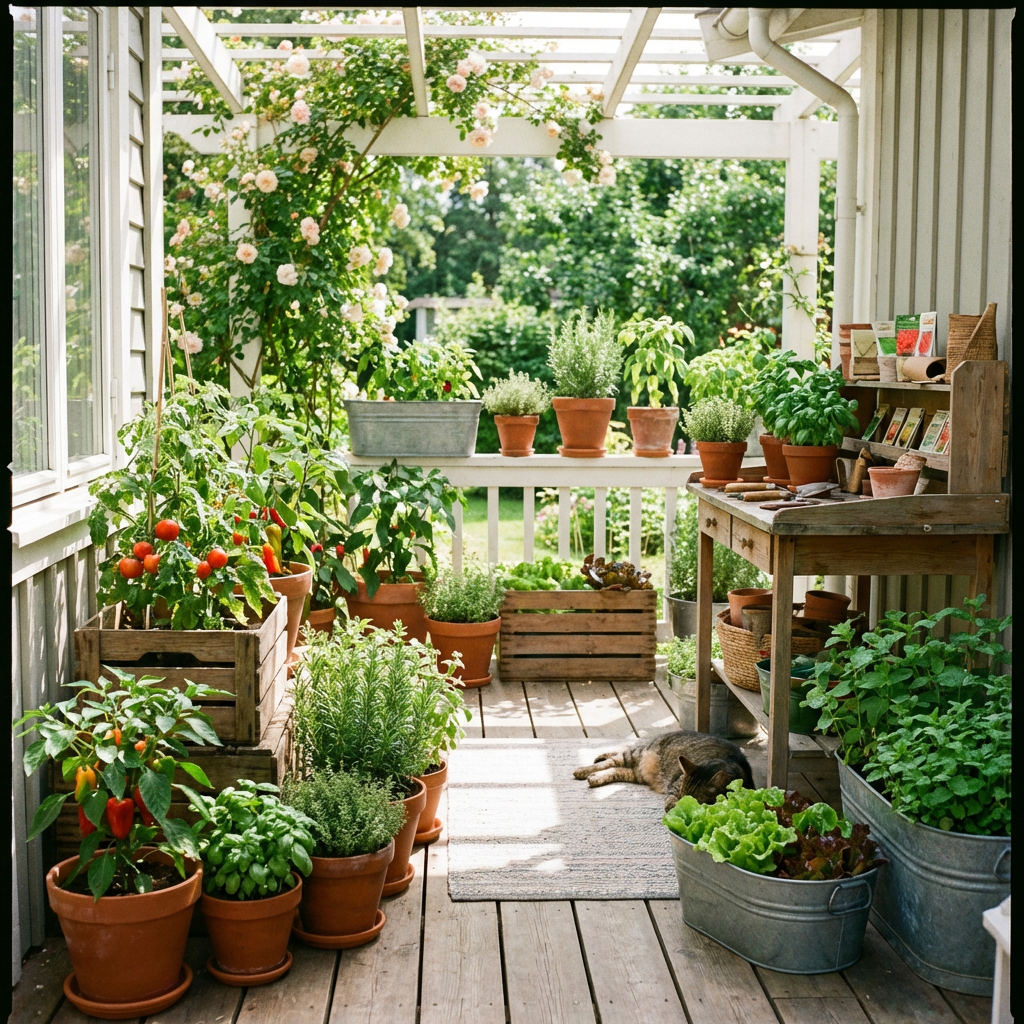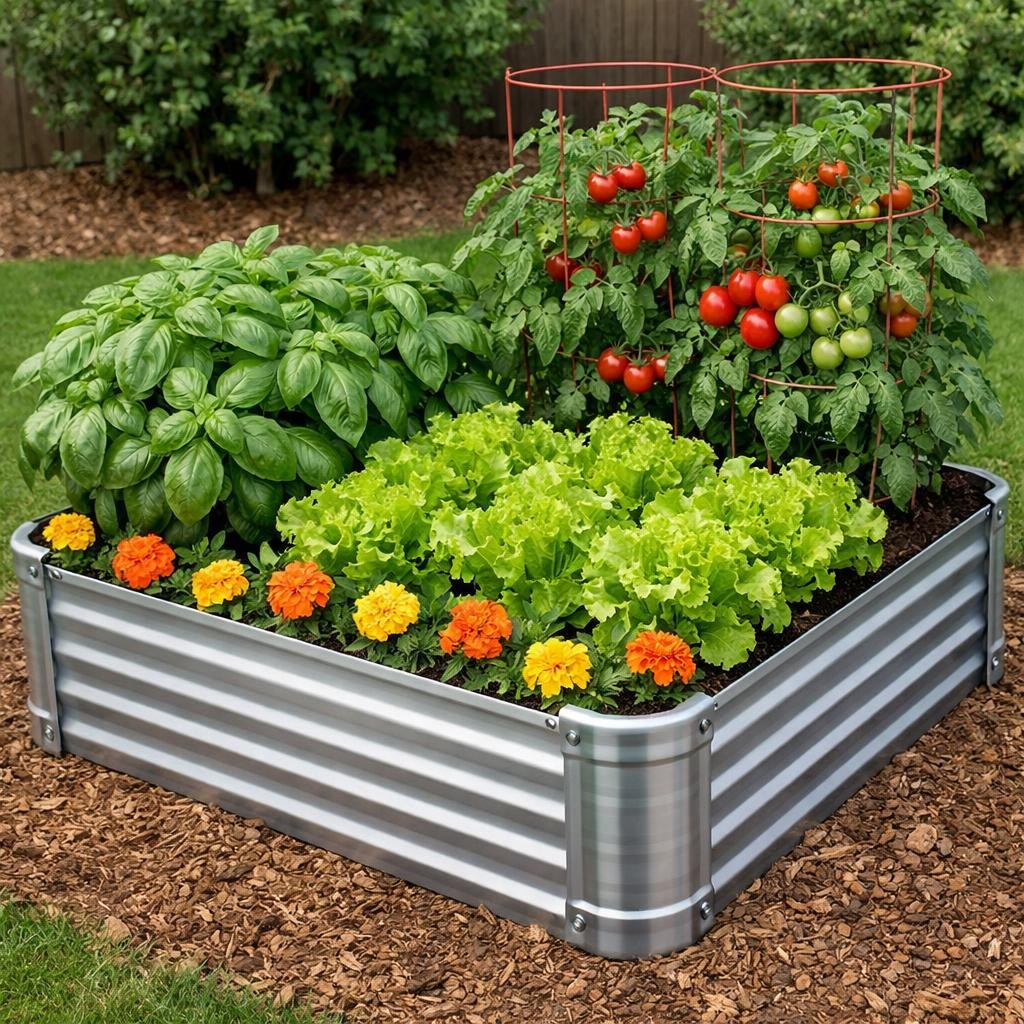
There’s something magical about stepping outside and picking your own salad straight from the garden. With just one raised garden bed, you can grow a beautiful, productive mix of lettuce, tomatoes, and basil—plus a few flowers that help everything thrive.
If you’re just getting started, raised beds make gardening easier, neater, and more successful (especially in Texas heat!).
🪴 Why Use a Raised Garden Bed?
Raised beds give you:
- Better drainage (no soggy roots!)
- Easier weed control
- Warmer soil for faster growth
- A tidy, organized garden space
I personally use 8 aluminum raised garden beds that I found on Amazon—they’re durable, lightweight, and perfect for beginners or seasoned gardeners.
☀️ What You’ll Need to Grow
For this raised bed garden, you’ll plant:
🥬 Lettuce (Cool & Fast Growing)
- Great for early spring and partial shade
- Harvest outer leaves continuously
🍅 Tomatoes (Your Garden Star)
- Needs full sun and support (cage or stake)
- Produces all summer long
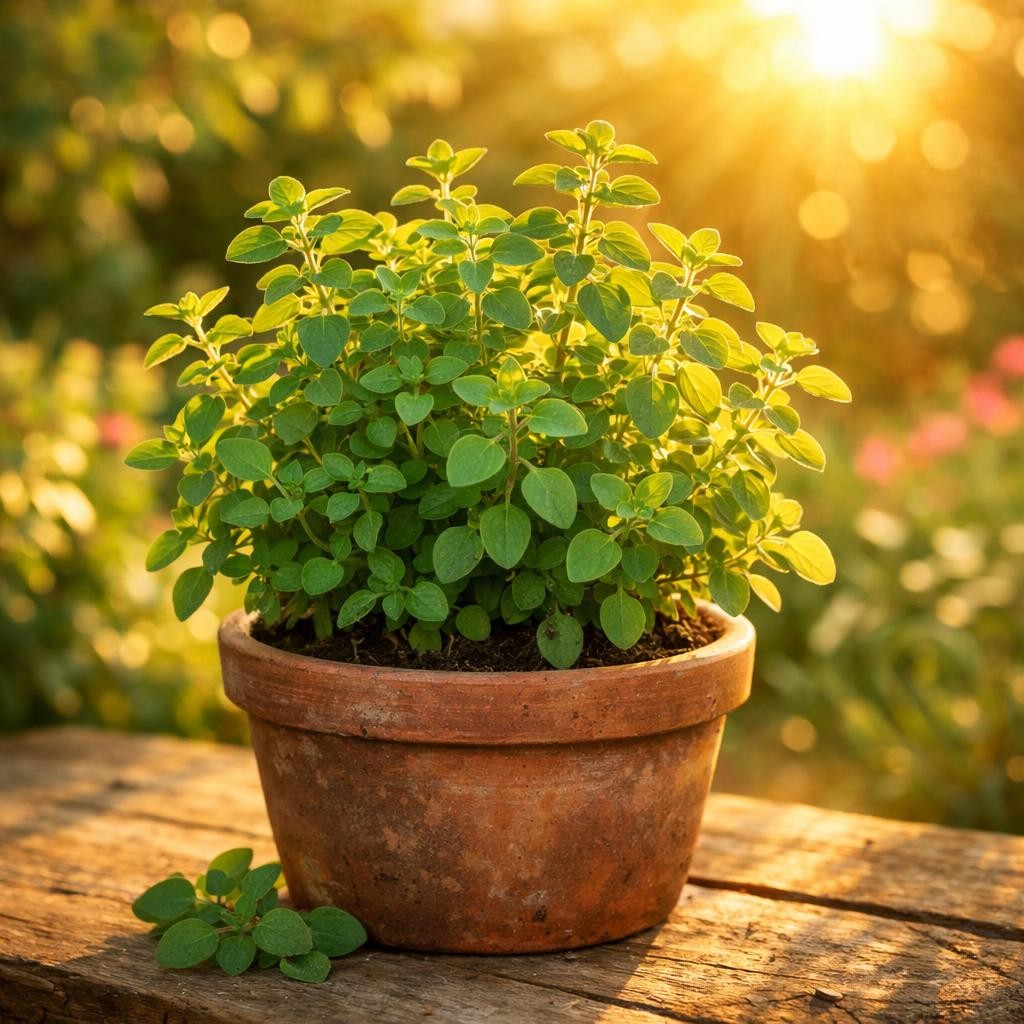
🌿 Basil (Perfect Companion)
- Loves heat and sun
- Improves tomato growth and flavor
🌼 Add Flowers for a Healthier Garden
Mixing flowers into your raised bed isn’t just pretty—it’s powerful.
Here are a few easy companions:
- Marigolds – repel pests like aphids and nematodes
- Nasturtiums – attract beneficial insects and deter bugs
- Calendula – brings in pollinators
🧑🌾 Raised Bed Layout (Simple & Productive)
Here’s an easy layout for a standard 4×8 raised bed:
[ BACK OF BED - FULL SUN SIDE ]   🌻     🍅     🍅     🌻
 (flowers) (tomato) (tomato) (flowers)   🌿     🌿     🌿     🌿
  (basil) (basil) (basil) (basil) 🥬 🥬 🥬 🥬 🥬 🥬 🥬 🥬
      (lettuce rows)[ FRONT OF BED - EASY ACCESS SIDE ]
🌟 How It Works:
- Back row: Tomatoes (tall plants won’t shade others)
- Middle row: Basil (loves being near tomatoes)
- Front row: Lettuce (easy to harvest + gets partial shade from taller plants)
- Corners/edges: Flowers for pest control and pollinators
💧 Care Tips for Success
- Water consistently – Raised beds dry out faster
- Mulch the soil – Helps retain moisture
- Harvest often – Especially lettuce and basil to encourage growth
- Feed your plants – Use a gentle organic fertilizer every few weeks
Harvest & Enjoy
- Pick lettuce leaves as needed (cut-and-come-again style)
- Harvest basil often to keep it from flowering
- Let tomatoes fully ripen on the vine for best flavor
Before you know it, you’ll have everything you need for fresh salads, homemade pasta sauces, and summer meals straight from your garden.