How to Create an Outdoor Succulent Garden
Succulents are some of the most low-maintenance yet eye-catching plants you can grow in your garden. With their diverse shapes, bold colors, and drought-tolerant nature, they’re perfect for creating an outdoor garden that is both beautiful and easy to care for. If you’ve been thinking about starting an outdoor succulent garden, here’s your complete guide to getting started—from the best succulents to plant, to where to place them, and which garden zones are ideal for success.
Why Succulents Make Great Outdoor Plants
Succulents are uniquely designed to survive in harsh conditions. Their fleshy leaves and stems store water, allowing them to handle long stretches without rain. This makes them excellent choices for gardeners in hot, dry regions—or for anyone who doesn’t want to spend too much time watering. Plus, succulents come in so many varieties that you can design a truly unique outdoor garden full of texture and color.
The Best Succulents for Outdoor Gardens
When selecting succulents for outdoor planting, it’s important to choose ones that are hardy and can withstand varying weather conditions. Here are some of the best options:
- Sedum (Stonecrop): Extremely hardy, comes in trailing or upright forms, and survives both heat and cold.
- Sempervivum (Hens and Chicks): Known for their rosette shapes and ability to withstand frost, these are excellent for cooler climates.
- Agave: Bold and architectural, perfect for a dramatic centerpiece in warm climates.
- Aloe Vera: Hardy in warmer zones, adds a tropical look while also being useful for its medicinal gel.
- Echeveria: Popular rosette succulents with a wide range of colors, great for containers or raised beds.
- Ice Plant (Delosperma): Known for its bright flowers and ability to spread, making it great as a ground cover.
- Yucca: Not technically a succulent, but pairs well with them and thrives in the same conditions.
Garden Zones Best for Outdoor Succulent Gardens
Succulents thrive outdoors in USDA Hardiness Zones 7–11. Here’s a quick breakdown:
- Zones 9–11: Perfect for most succulents, including agaves, aloes, and echeverias. These warm climates allow year-round outdoor growth.
- Zones 7–8: Hardy succulents like hens and chicks and sedums can survive cold winters and still come back in spring.
- Zones below 7: Succulents can still be grown outdoors seasonally, but you’ll need to bring tender varieties inside for winter or cover them with frost cloth.
Best Places to Plant Your Succulent Garden
Placement is key when it comes to growing succulents outdoors. Here are some ideal spots:
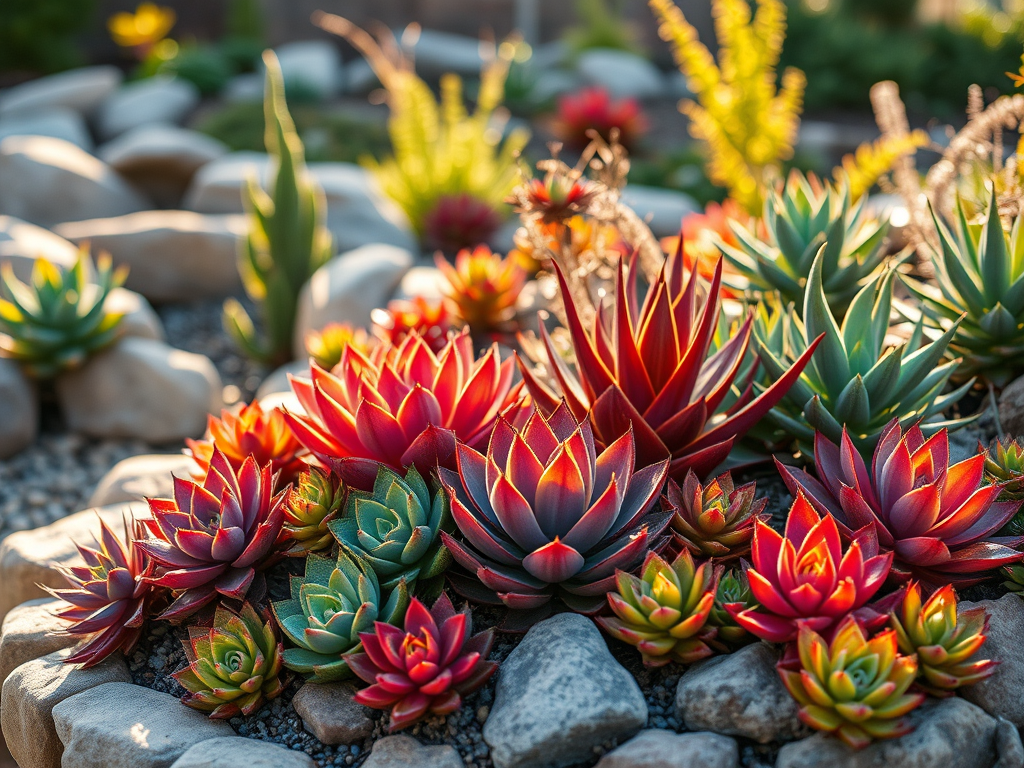
- Rock Gardens: Succulents thrive in well-draining soil, and rocks provide natural drainage and heat retention.
- Raised Beds: Perfect for controlling soil quality and ensuring proper drainage.
- Slopes or Hillsides: Water drains quickly on slopes, which mimics the succulents’ natural desert habitat.
- Patio or Entryway Containers: Containers can be grouped together to create a focal point and can be moved if needed for weather protection.
- Sunny Borders: Most succulents love 6–8 hours of full sun each day, making south-facing areas the best choice.
Tips for Creating a Successful Outdoor Succulent Garden
- Soil: Use a sandy, gritty, or cactus-specific soil mix that drains quickly.
- Watering: Deeply water, then let soil dry out completely before watering again.
- Spacing: Give plants room to spread; overcrowding can cause rot.
- Winter Care: In colder zones, cover plants with frost cloth or grow in containers that can be moved inside.
- Design Tip: Mix tall statement succulents like agave or yucca with low-growing varieties like hens and chicks for visual interest.
Final Thoughts
An outdoor succulent garden is the perfect blend of beauty and resilience. With minimal maintenance, these hardy plants can transform your outdoor space into a vibrant desert-inspired retreat. Whether you live in a warm, sunny climate year-round or want to experiment with cold-hardy succulents, there’s a way to make it work in your garden.