There’s something magical about walking into a bedroom filled with soft textures, gentle light… and living greenery. Adding plants to your bedroom doesn’t just make it look beautiful—it creates a peaceful, calming environment that helps you unwind at the end of the day.
Whether your style leans cozy cottagecore, minimal, or full indoor jungle, the right plants can completely transform your space.
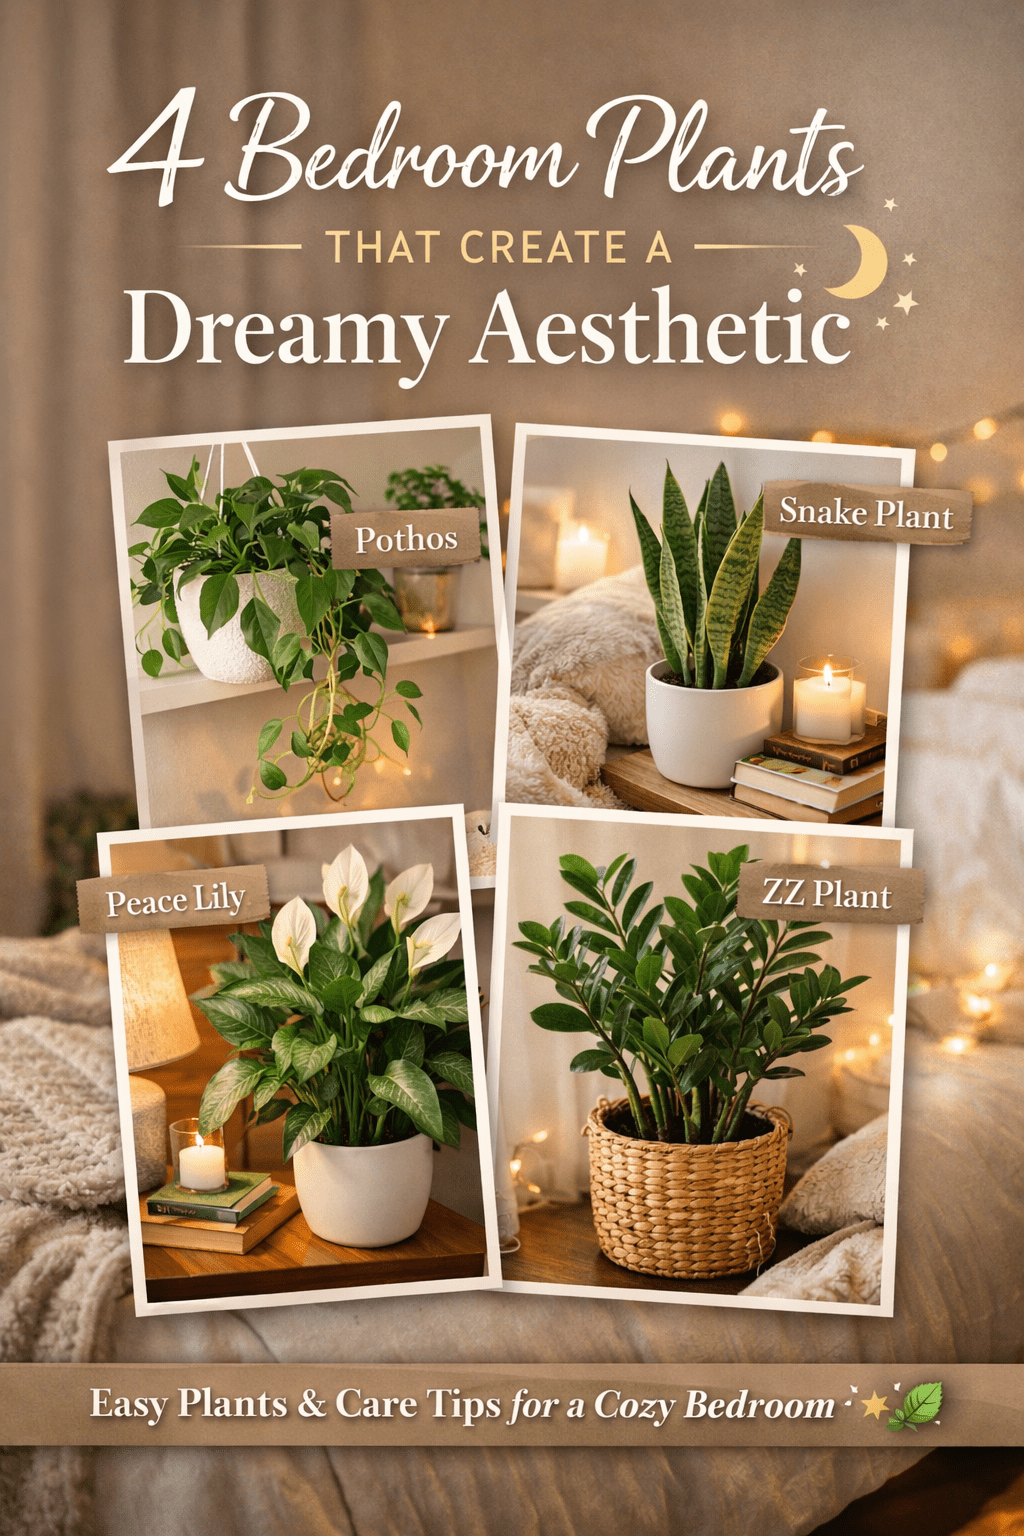
Let’s talk about four stunning, easy-to-care-for plants that bring both beauty and tranquility to your bedroom.
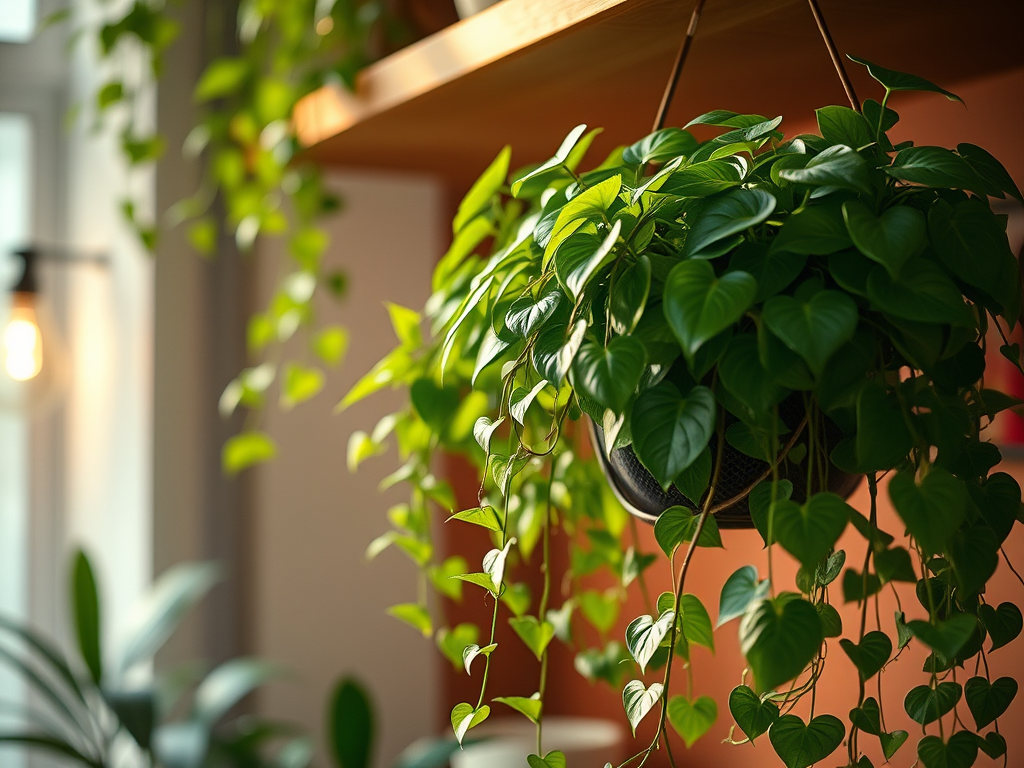
🌿 1. Pothos (The Effortless Beauty)
If you want that soft, cascading “Pinterest plant shelf” look, pothos is your go-to.
Aesthetic vibe: Flowing vines, dreamy and relaxed
Perfect for: Shelves, nightstands, hanging baskets
Care tips:
- Light: Low to bright indirect light (very forgiving)
- Water: Every 1–2 weeks (let soil dry out between watering)
- Bonus: Super easy to propagate in water—just snip below a node and place in a jar
This is the plant that gives you that effortless, “I woke up like this” plant aesthetic.
🌱 2. Snake Plant (Modern & Minimal)
For a clean, structured look, snake plants bring a calm, grounded energy to your bedroom.
Aesthetic vibe: Minimal, modern, peaceful
Perfect for: Corners, bedside tables, floor planters
Care tips:
- Light: Low to bright light
- Water: Every 2–3 weeks (they hate overwatering)
- Bonus: Known for being one of the easiest plants to keep alive
If you’re someone who forgets to water… this plant will forgive you every time.
🌿 3. Peace Lily (Soft & Serene)
This plant adds a gentle elegance with its deep green leaves and soft white blooms.
Aesthetic vibe: Calm, spa-like, peaceful
Perfect for: Dressers, bedside tables, or near a window
Care tips:
- Light: Low to medium indirect light
- Water: About once a week (it will droop when thirsty—very dramatic but helpful)
- Bonus: Loves humidity, making it great for cozy, warm rooms
A peace lily gives your bedroom that quiet, relaxing “retreat” feeling.
🌵 4. ZZ Plant (Low-Light Queen)
If your bedroom doesn’t get much light, this one is your best friend.
Aesthetic vibe: Glossy, modern, slightly tropical
Perfect for: Low-light corners, nightstands, or desks
Care tips:
- Light: Tolerates low light beautifully
- Water: Every 2–3 weeks (less is more)
- Bonus: Extremely hardy and beginner-friendly
This plant thrives on neglect—in the best way.
🌙 Styling Tips for That Dream Bedroom Look
To really bring the aesthetic together:
- Mix heights (floor plants + shelf plants)
- Use neutral or earthy pots for a calming vibe
- Add soft lighting like fairy lights or a warm lamp
- Let vines (like pothos) trail naturally for that relaxed feel
🌿 Final Thought
Your bedroom should feel like a place you can breathe, rest, and recharge—and plants help create that atmosphere in the most natural way.
Start with one or two, see how they make you feel, and slowly grow your collection into your own personal indoor oasis.
✨ And if you’re looking for more plant inspiration, styling ideas, or care tips, be sure to check out my Pinterest page where I share even more houseplant goodness!